This post may contain affiliate links. If you choose to make a purchase through these links, I earn a small commission at no cost to you. I do not promote anything I do not believe in or stand behind.
This week, my 4 1/2 year old, 2 year old and myself completed our first ever painting project that wasn’t free painting, finger painting or painting with handprints.
We needed a gift for the grandmother’s, who we call MomMom and Babcia, for Mother’s Day. They don’t really need more stuff so that’s when I decided to have the kids paint pictures for them.
I honestly went into this project with minimal expectations and was so happy with the finished paintings!
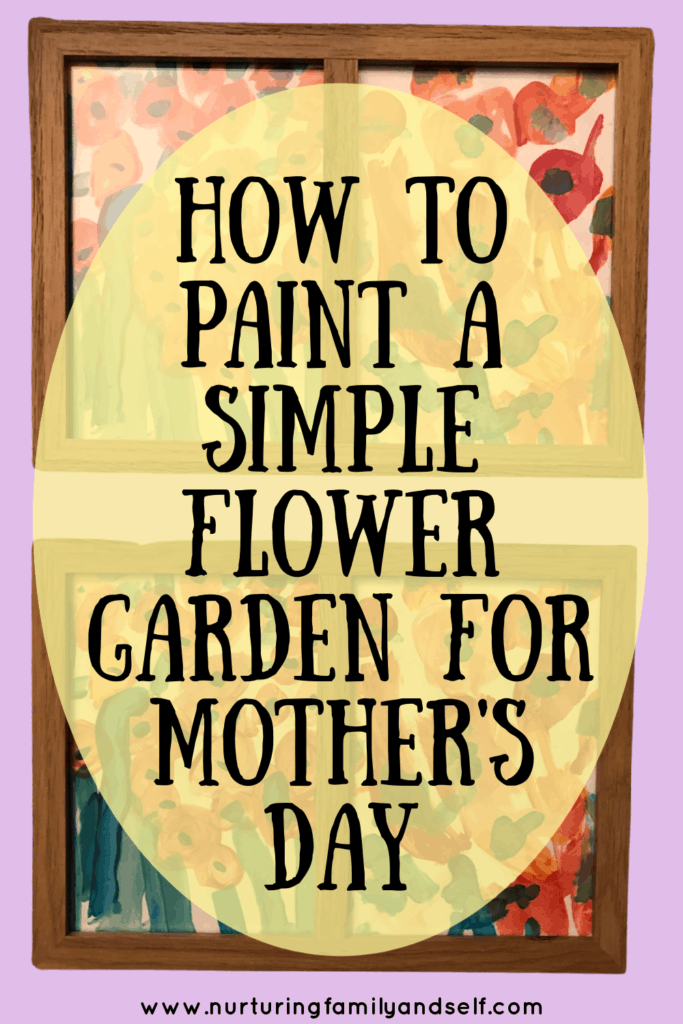
It was so much fun to complete this painting and I am going to walk you through how we did it step by step.
The inspiration for this flower painting came from Painted Paper Art’s The Flower Garden. This beautiful and simple project was shared with me by a friend who did it with her young children as a gift for her grandmother’s birthday. She framed for her grandmother to display and look at every day. That’s a pretty special way to brighten someone’s day. And I know that MomMom and Babcia will enjoy displaying the paintings in their homes, too.
What materials do I need to complete this flower painting project?
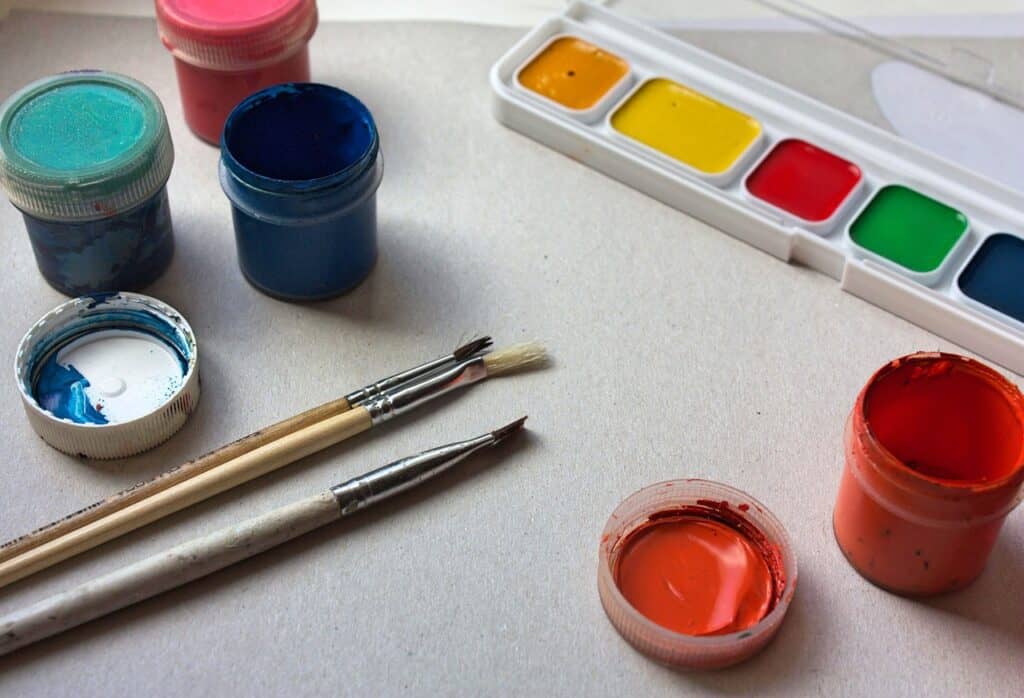
You will need washable tempera paint in red, orange, yellow, green, blue and white. Since this painting is done with young children, it’s important that it be washable! I do keep a wet washcloth or baby wipes close by for cleaning up spills and wiping hands, face and clothes if I need to.
We love the Colorations Simply Washable Tempera Paints. The paint comes off skin, clothes and surfaces well, with no irritation or staining.
You will need a plastic tablecloth or craft paper to cover the painting surface. We have brown craft paper covering our table. A large piece of cardboard or placemat is a great option, too!
You will also need the following materials:
- Paper Plates
- Flat Paint Brushes
- White Cardstock or Construction Paper
- Picture Frames for Finished Paintings (Optional)
- Glossy Photo Paper (Optional)
How do I paint the flowers?
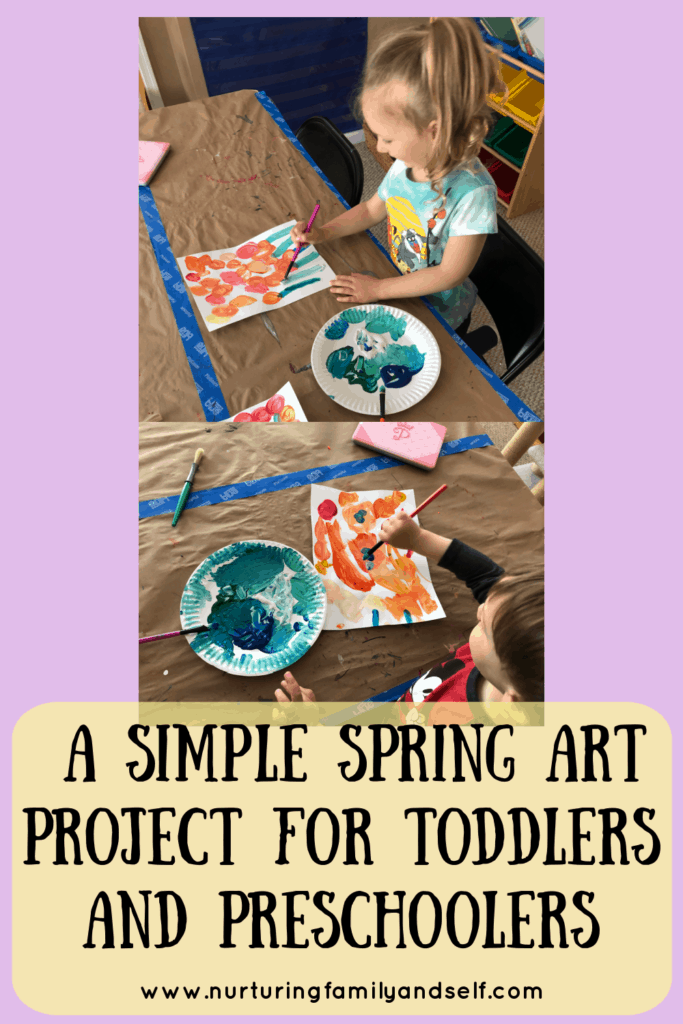
We completed the painting over two days. The first day we painted the circles for the flowers. The second day we added the center of each flower and the flower stems. This worked well for the attention span of my preschooler and toddler.
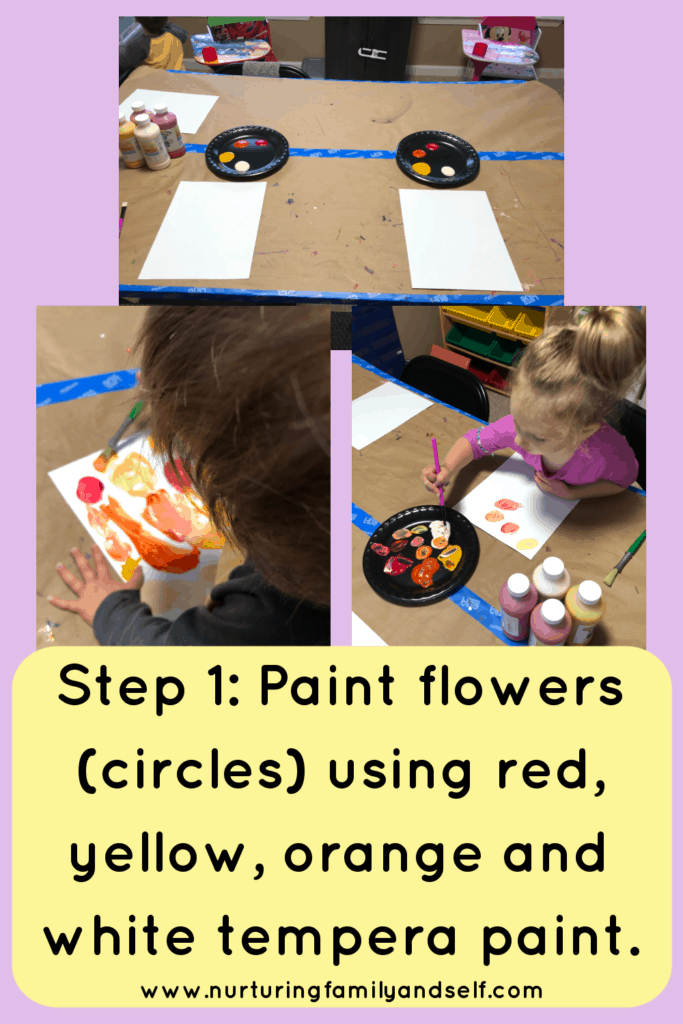
Step 1: Paint flowers using red, orange, yellow and white tempera paint.
I placed a small amount of red, orange, yellow and white tempera paint on a paper plate. You don’t need a lot of paint. Plus, you want room on the plate for your child to mix colors together.
You want to paint the circles in the top half of paper. I modeled how to paint circles with the paint brush. I also showed my daughter how to mix colors. We took some white and red and mixed it to make pink. We took some white and orange to make lighter shades of orange. Mixing the colors was her favorite part!
I kept encouraging her to fill the top half of her paper with circles as I did on my own painting.
My toddler really enjoyed painting circles, too! I wasn’t expecting him to fully paint circles, but he did create some. He moved the paintbrush in slow and controlled motions, which was neat to watch.
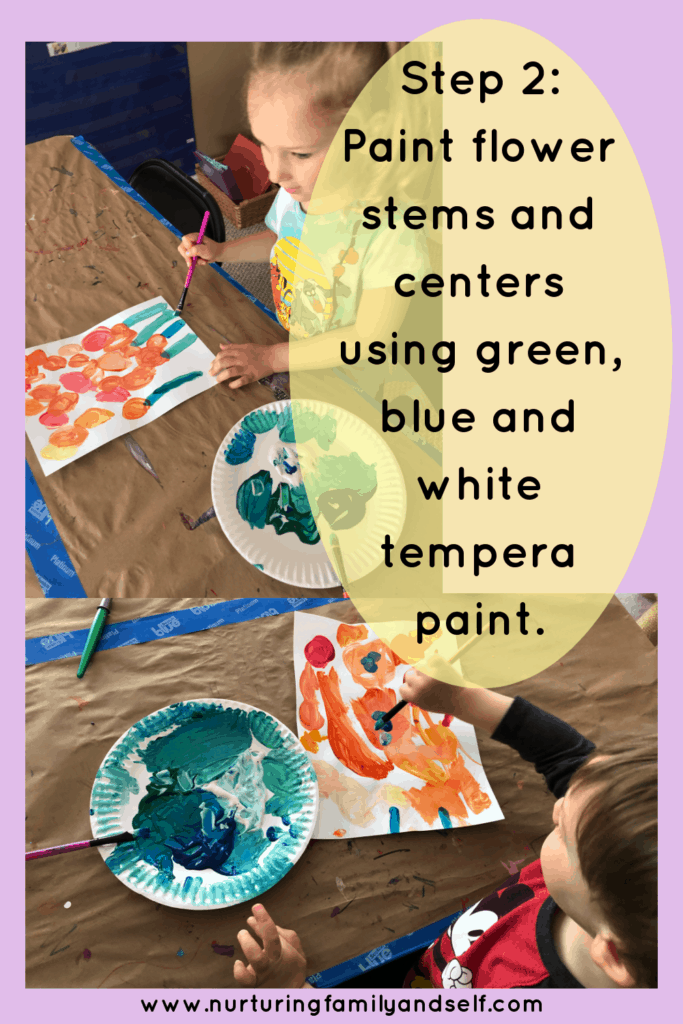
Step 2: Paint the flower stems using blue, green and white tempera paint.
The next day, I put a little bit of green, blue and white tempera paint on a paper plate. I showed my preschooler and toddler how to draw straight lines with the paint to create flower stems. We mixed white with the blue and green to create different shades. Her goal was to draw a stem from each flower to the bottom of the page.
Then we added a dot of paint (blue or green) to the middle of each flower. My toddler loved this part! He enjoyed going “Pop, pop, pop” as he put a dot on each flower.
Step 3: Scan paintings into computer and print for picture frame.
This step is completely optional, but I wanted to explain how I turned my children’s paintings into pictures to display.
There are a few things you could do. The first option is giving it as is after writing child’s name and date on the back.
The other thing you can do is purchase a document-sized picture frame to display finished painting. I think these paintings would look really nice in a matted frame. Your little artist will love seeing their painting displayed this way.
Since both my kids completed this painting project, I needed a frame for two pictures. I chose one that contained openings for 5×7 photos. The light color complimented the paintings well. I found the picture frame at Target for $8, but here is a similar one on Amazon.

I scanned the paintings into my computer and saved as a jpg image. Then, opened each one and printed as a 5×7 full-sized photo. I printed two copies of each saved image on sheets of semi-gloss 5×7 photo paper. I let the printed pictures dry for a few minutes and put inside picture frames.
We love our photo printer from Canon because it allows us to print and update pictures for displaying in frames around our home. We can also create beautiful gifts and print pictures for family!
I plan to display the original paintings in our home as part of our spring decorations. The advantage to scanning into my computer is being able to save the painting forever and add to a photo book in the near future.
Conclusion
I hope you enjoy this simple tutorial for making a beautiful painting for someone special in your child’s life. Framed artwork created by your child(ren) is an easy and inexpensive gift idea for birthdays and special holidays like Mother’s Day and Father’s Day.
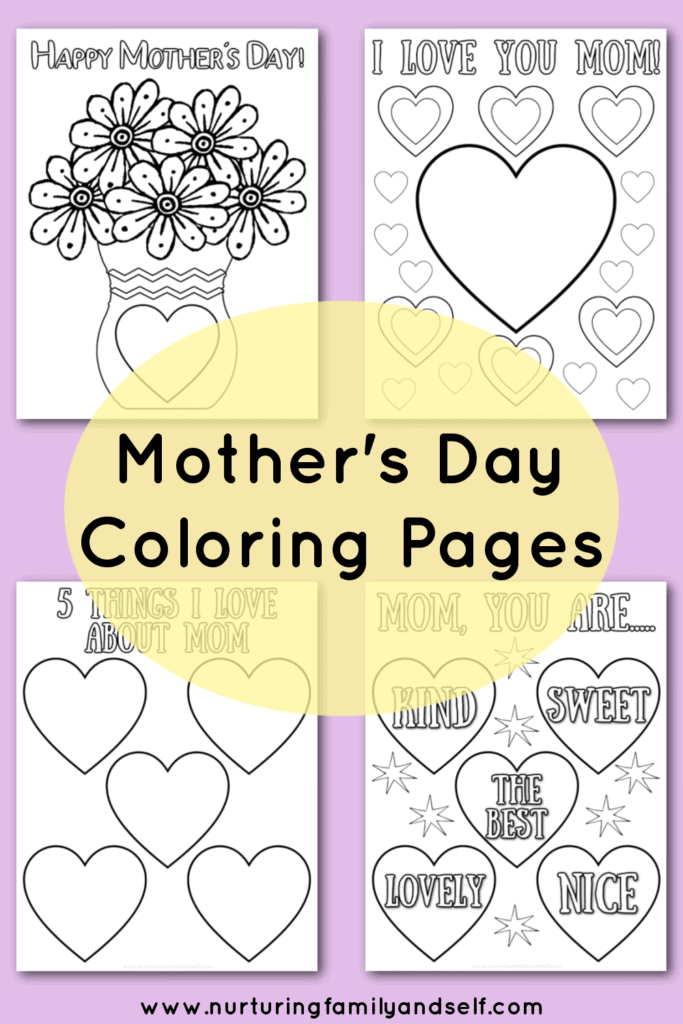
If you want a pre-drawn picture for your child to color or paint for Mother’s Day, you can grab my free set of Mother’s Day coloring pages by clicking the image below. Plus, you’ll get access to my entire resource library of free resources just for signing up 😍
What a lovely idea! I like how kid‑friendly and low‑stress this painting project is, bonus that it turns into a gift for grandparents.
Thank you so much for the comment! My kids enjoyed the painting project and we enjoyed giving it to the grandparents. When you are painting with young children, it needs to be low-stress! Thanks for stopping by and checking out the post!