This post may contain affiliate links. If you choose to make a purchase through these links, I earn a small commission at no cost to you. I do not promote anything I do not believe in or stand behind.
Earth Day occurs every year on April 22nd. It is a day to bring increased awareness about our planet and how important it is to protect it.
I wanted to find a simple craft project to do with my toddler and preschooler that represented how the earth is home to many living things. I wanted a project that lead to conversation about how our earth is covered in water and land. The water and land is home to many plants and animals. We need to keep it clean to protect all of the plants and animals.
When I was searching for craft ideas, there were many to choose from. My daughter, who was almost 3 ½ at the time of this project, loved to paint so painting an earth was what I chose to do with her. My son was at the age where fingerpainting was a hit so he enjoyed being a part of this craft project as well!
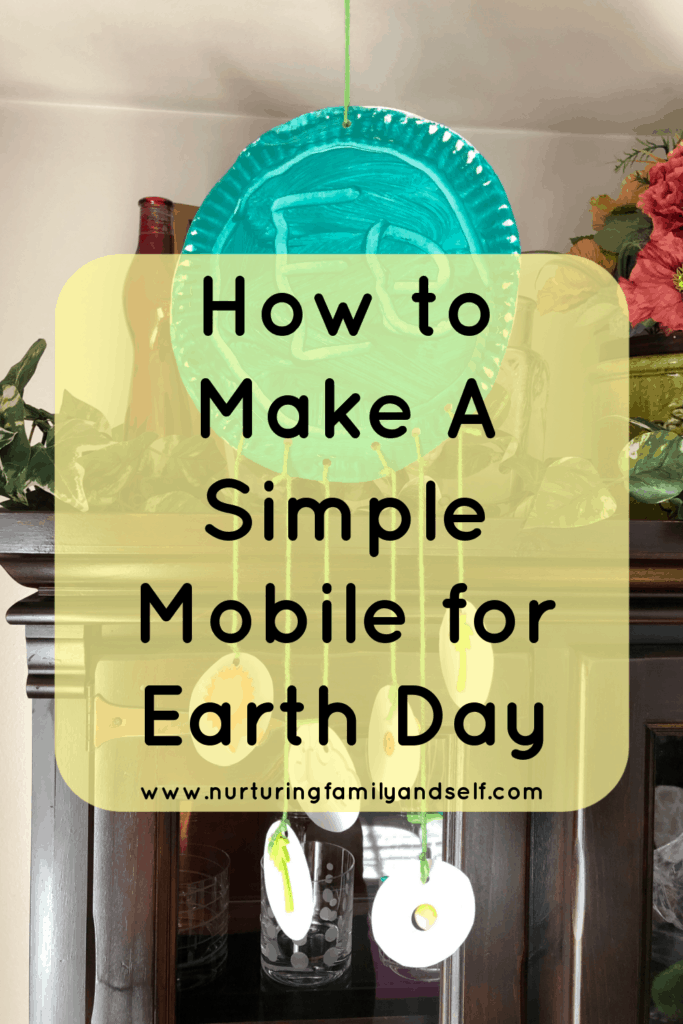
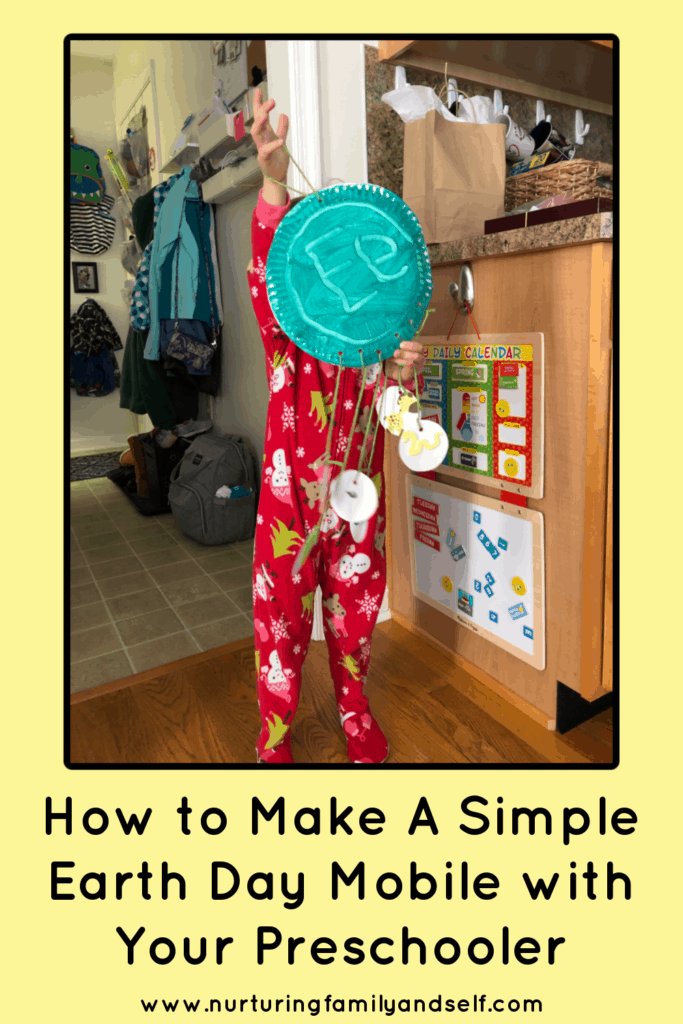
This Earth Day Mobile is easy to make and you probably have what you need already in your house. What I love about this craft project is you can use what you have to put it together.
What materials do I need to make an Earth Day mobile?
Here is what I used to put together this Earth Day Mobile, which we hung in our house for the remainder of April:
- 2 White Paper Plates (or cut large circles out of white cardstock or pieces of cardboard)
- White Cardstock or Construction Paper
- Animal and Plant Stickers
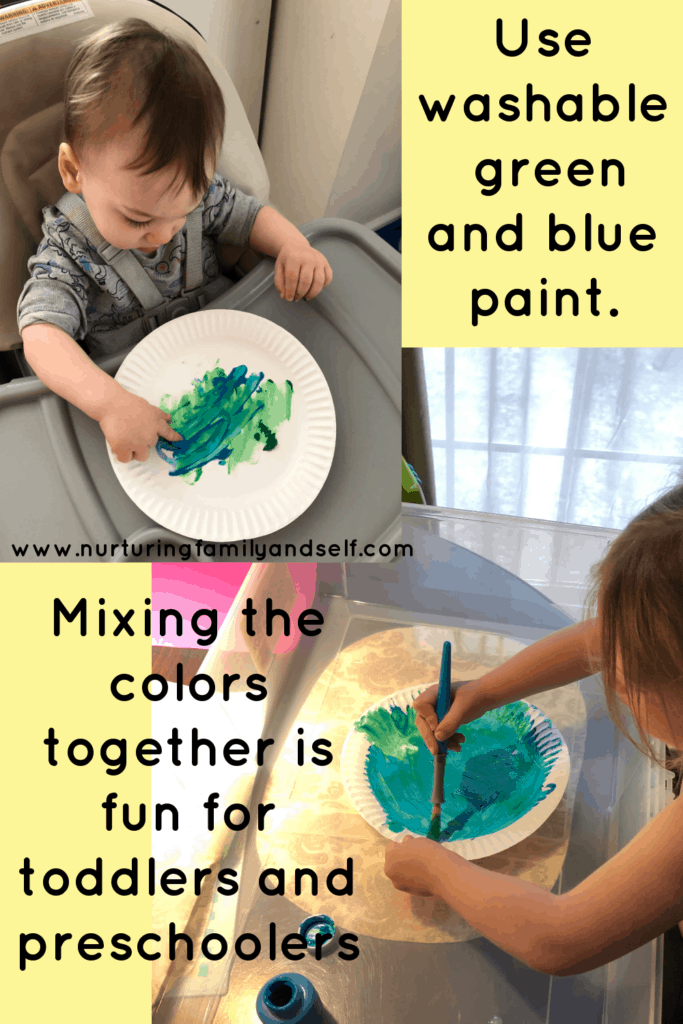
- Blue and Green Washable Paint
- Paint Brushes (or something to use as painting tool)
- Yarn or String
- Scissors
- Hole Punch
- White Craft Glue
How do I make an Earth Day mobile with my child?
First, fold a sheet of white cardstock or construction paper to create six sections. Leave folded. Trace a circle, about 3 inches in diameter. Cut out. You will end up with 6 circles since the paper was folded.
Next, provide your child with a small bowl containing blue paint, a small bowl containing green paint and a paint brush or painting tool. Other painting tools that would work with this project would be sponges (cut sponge into smaller rectangles), cotton balls attached to clothespins or crumpled up balls of aluminum foil. Your child will love dipping into the paint and covering the plate in this way. Feel free to provide your child with several different painting tools. He/she can choose which one to use or use all of them! The variety will create different paint strokes and textures as he/she paints.
You can choose to provide your child with a paint brush for each color or just one paint brush and make a cup of water available for cleaning in between paint colors.
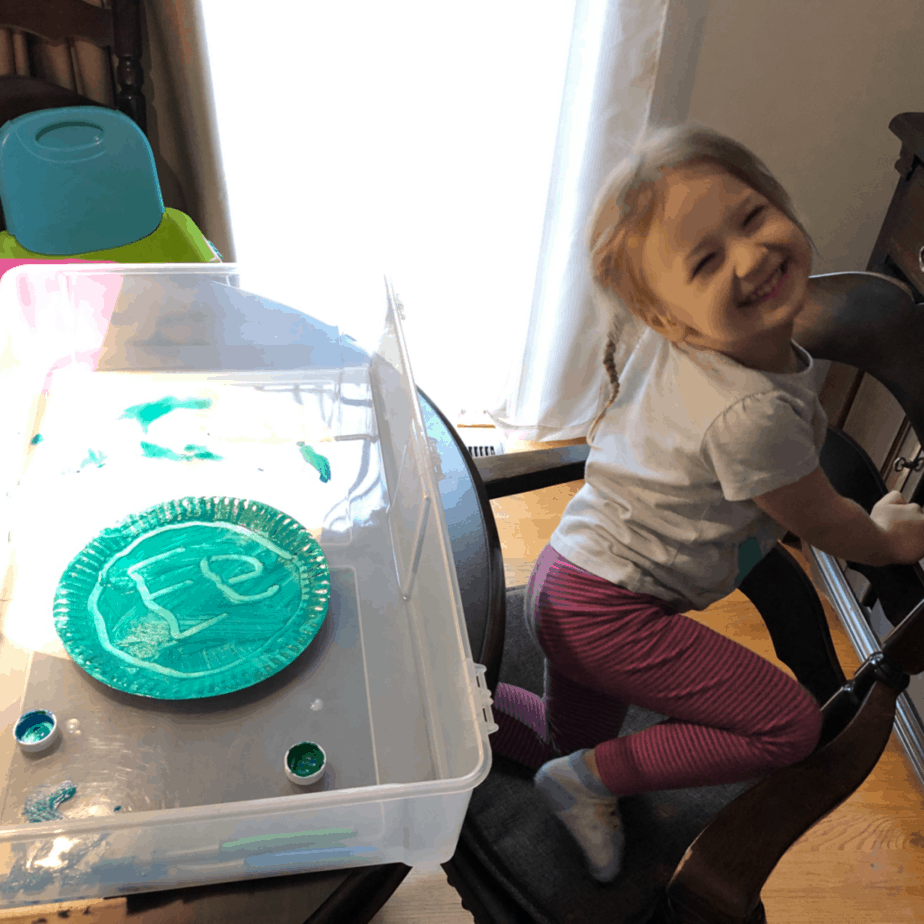
Invite your child to paint the paper plate using the blue and green paint. The one goal is covering the white paper plate. It is fun to see what results when the two colors mix together, too! This was my daughter’s favorite part.
Depending on your child’s age, you could incorporate a small bowl of white paint. Show your child how to create varying shades of green and blue as they cover the paper plate. The more white added to each color, the lighter the shade.
If you do not have any white paper plates, no need to run out and buy some just for this craft. Simply find a piece of cardboard (the back and front of a cereal box would work great) or use white cardstock. Trace two circles using a mixing bowl or large circular plastic food storage container. Cut them out and let your child paint on the cardboard. Once both sides are dry, use white craft glue to glue the unpainted sides of the cardboard or paper together. This makes the earth sturdier and better for hanging up as a mobile.
You’ll want your child to either paint both sides of the paper plate or paint two paper plates and staple them together. My son fingerpainted one of the plates while my daughter painted the other one. Once they were dry, I stapled together.
If your child is 9-12 months or you dread a painting mess, place the circle or paper plate inside a gallon-sized ziploc bag. Squirt some blue, green and white paint onto the plate or paper circle, sealing inside the bag. Be sure to seal really well. Tape the bag down to a flat surface using painter’s tape around each edge. Let your child move the paint around with fingers to cover the circle. Remove from bag and let dry once child is finished. This is a mess-free way to paint with little ones 😉
One option to create a more realistic painting of the Earth is to draw the continents onto the paper plate with a black permanent marker. Then explain to your child that the land is represented by green and the space surrounding the land is all blue for the bodies of water. Trying to paint within specific sections is great for fine motor control.
Another option is to have your child only use blue paint and cover the white paper plate. Then cut the continents from green construction paper. Once the paint is dry, glue the continents onto the planet.
If you would rather not use paint, you can do the same thing with blue and green markers or crayons. Let your child color the plate using these two colors.
After my daughter covered the plate in blue and green paint, I had her use her finger to write the letter E in the wet paint. We are working on learning our letters and I look for ways to connect our theme or topic to a letter of the alphabet. In this case, E is for Earth.
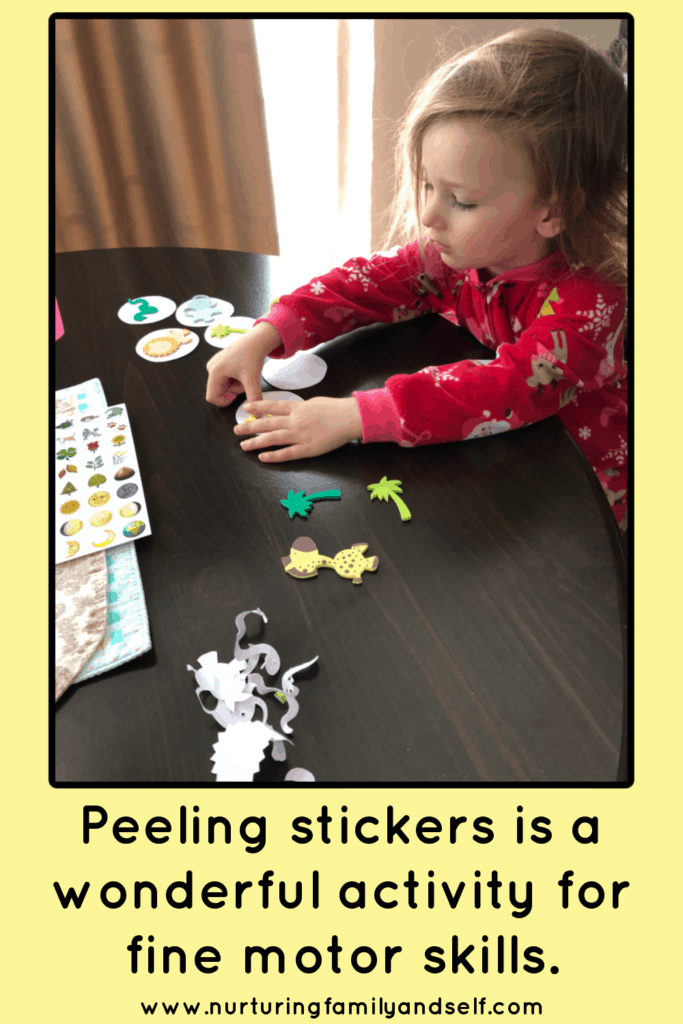
While the paper plates are drying, provide your child with stickers of animals, plants and trees. Really, anything found in nature would work! Let your child decorate the 6 small circles (both sides) with stickers. Peeling the stickers off of the sheet is a great fine motor building skill.
If your child is older, he/she can draw animals, plants, trees, fish, the ocean, the mountains, etc. This Earth mobile shows that our planet is home to many living things, which is why it is important to keep it clean and protected.
Now it is time to use the hole punch to punch a hole in the top of each small circle and in the top of the earth. You can choose to punch a hole for attaching each small circle to the earth or just use white craft glue, tape or a stapler to attach. Cut a piece of yarn or string for each small circle. I cut varying lengths so the smaller circles hung at different lengths from the earth. Also cut a small piece of yarn or string for the top of the earth. Tie each piece of string to the smaller circles and then attach each piece of string to the earth. Tie the small piece of yarn or string to the top of the earth into a loop for hanging. Now it is time to display!
I hope you and your little ones making this simple, yet enjoyable, Earth Day Mobile!
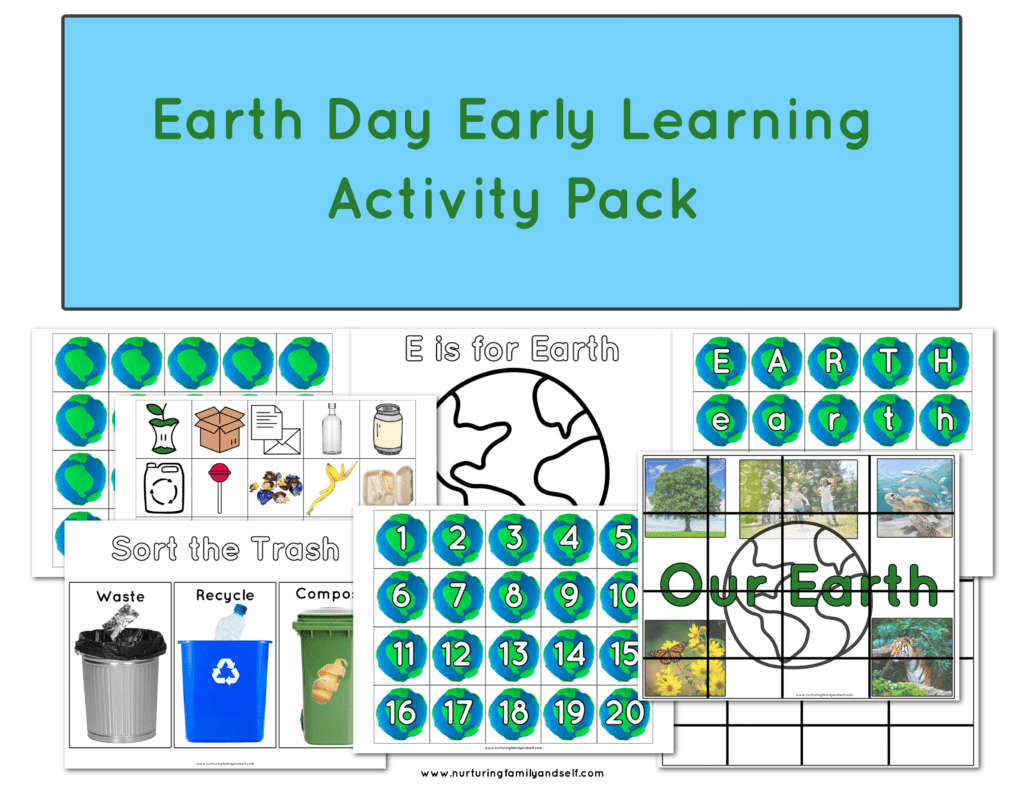
Earth Day Early Learning Activity Pack
If you are looking for more ways to engage your little learner in activities for Earth Day, be sure to check out our 13 page Earth Day Early Learning Activity Pack. This fun printable activity pack is perfect for engaging your young learner in building essential math and literacy skills while learning about our planet. The Earth Day Early Learning Activity Pack focuses on writing lowercase letters, matching uppercase and lowercase letters, learning numbers 1-20 and building vocabulary. It creates a hands-on learning experience for your children. You and your children will have tons of fun learning about earth and how to take care of it while engaging in each activity in this activity pack. Click on the image below to learn more about the Earth Day Early Learning Activity Pack.