This post may contain affiliate links. If you choose to make a purchase through these links, I earn a small commission at no cost to you. I do not promote anything I do not believe in or stand behind.
Oh cardboard boxes! The possibilities of what can be built from them is truly endless. This simple and inexpensive item makes dollhouses, race tracks, castles or appliances for hours of play. Kids of all ages enjoy playing with cardboard boxes! Cardboard boxes are inexpensive and many of us already have several laying around our house.
My first experience building something from cardboard boxes was creating a grocery store checkout counter for my little ones. They just love taking turns being the cashier and shopper. Filling their shopping cart with play food, placing it on the conveyor belt and bagging up the groceries to go home and cook a meal is a fun way to pretend on a snowy winter afternoon!
I felt inspired to see what else I could build with cardboard. My husband and I were looking to upgrade our play kitchen space since it’s one of the most used areas of our playroom. There are many great play kitchens out there, but we couldn’t find one that met all of our desires and budget. We wanted a kitchen with more counter space so my kids could cook pretend meals. We wanted a bigger oven because my little ones love pretending to bake cakes, cupcakes and pizza. I stocked their kitchen with baking pans from the Dollar Store. We wanted a kid-sized refrigerator that fit our play food. Most of the play food includes recycled and cleaned out plastic food containers. These containers are larger in size so a larger refrigerator was ideal.
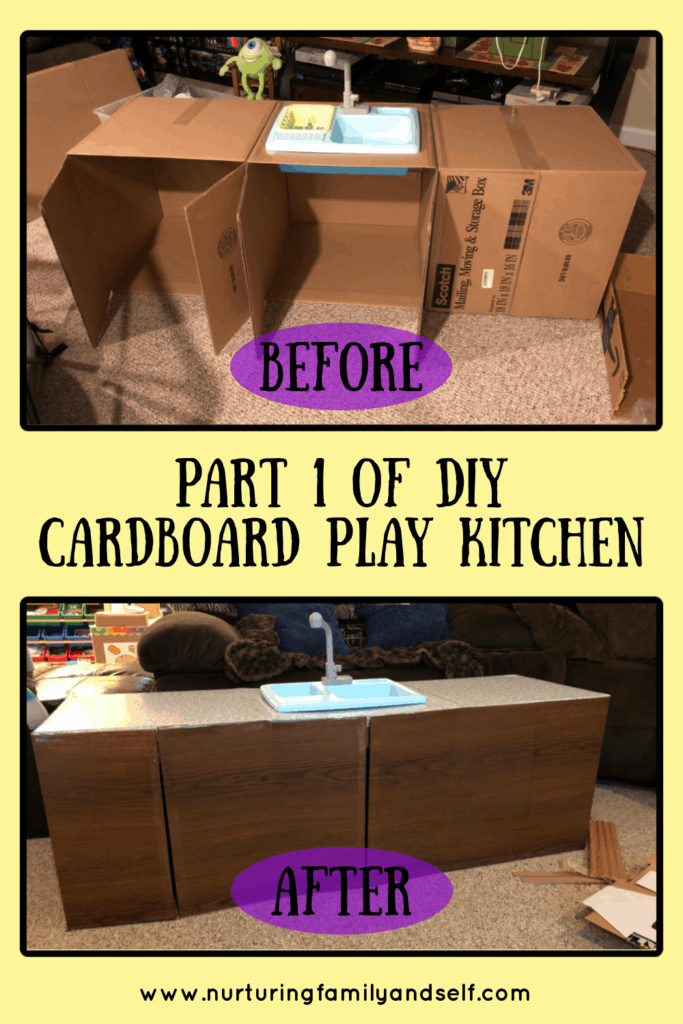
I did a search for “play kitchens made with cardboard boxes”. I came across this DIY cardboard kitchen from Happy Banky/Crafty Mom and immediately fell in love. It was exactly what we wanted and honestly looked like a dream play kitchen for my kids. My husband thought it was really neat! The videos walking you through how to construct each part of the kitchen were a nice bonus, too! I loved being able to pause, rewind and fast forward the videos as I was building each part of the cardboard kitchen.
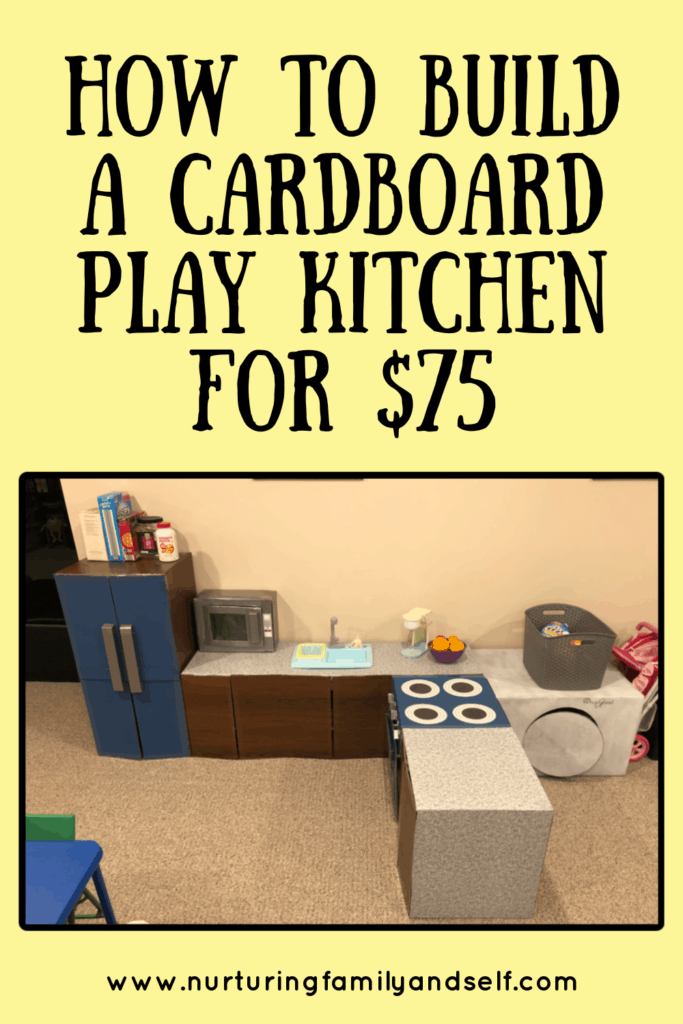
I was excited and couldn’t wait to start constructing the play kitchen. I immediately scheduled an order pickup at Target. I purchased the contact paper at the Dollar Store. The magnets used to keep the cabinets closed came from Hobby Lobby. I took advantage of the 40% off coupon 😉 The total cost for this project was about $75. I ended up purchasing a tape gun and clear packing tape refills because we didn’t have one. I also needed a new hot glue gun because the one I had stopped working. So these two items alone added about $40 to the cost of the project. I owned the blue paint used for the oven, stovetop and refrigerator. The dark blue paint complemented the contact paper patterns well.
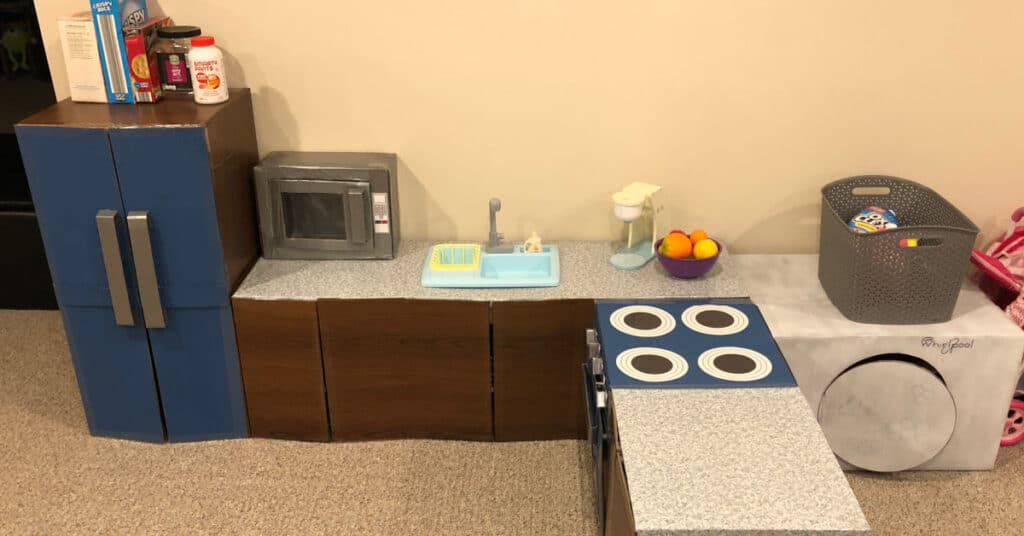
Edition 1 of our play kitchen includes everything from the tutorial I shared earlier in this post. Our completed kitchen included four cabinets, an oven and a refrigerator. This project took me about a week to complete, working a few hours a day. My husband was actually off from work so that provided me a little more time than usual to complete this fun project.
There are a few things that I did differently than the video tutorials so I will explain those for you.
The first is the sink. We already owned this sink and it was the perfect one to use for this play kitchen. There is a faucet and small dish rack for the clean dishes. I simply laid it on top and traced the shape of it to create a space to fit the sink. Doing this saved a lot of time because I didn’t have to construct the faucet or faucet handles. This sink worked well because it has a lip around the top that holds it in place.
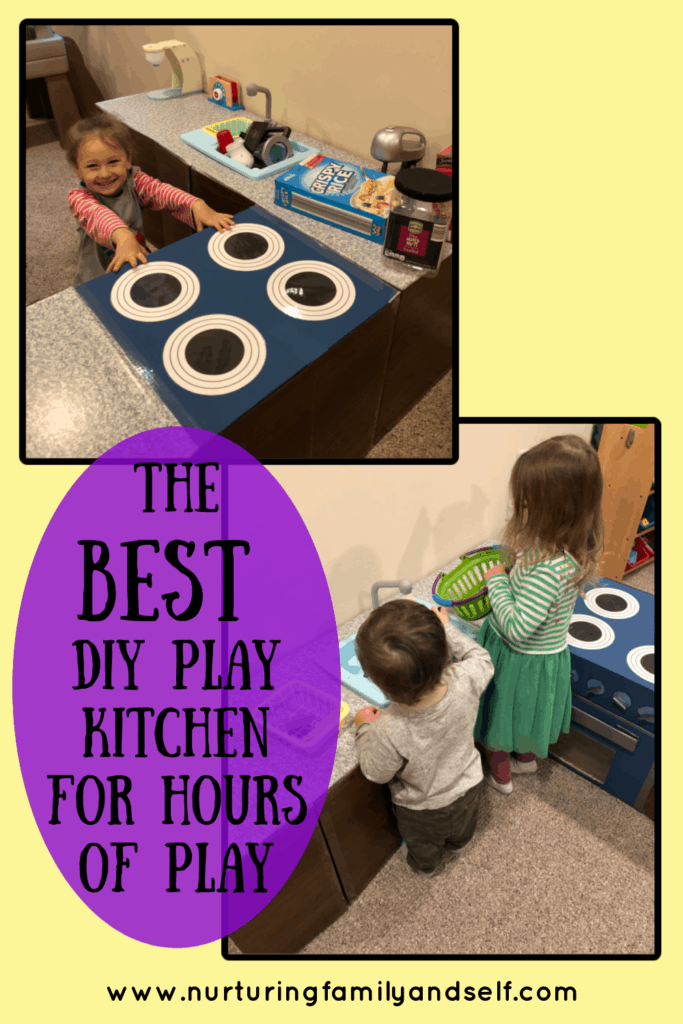
I created the stove top burners inside Microsoft PowerPoint. I printed them on cardstock and laminated for durability. I cut each one out. Then I used craft glue to adhere them to the top of the stove. I did this because it resembles the flat glass stove top we have. Also, the process of cutting many small pieces of cardboard and gluing them to the stovetop, did not appeal to me. While the stovetop in the tutorial is impressive, my husband and I prefer the flat surface. I was afraid the grates would break off easily even after using hot glue.

The finished cardboard play kitchen does take up space, but it doubles as storage, too! We played around with the layout of our playroom to find just the right one. My daughter was so excited about her new play kitchen. She just kept saying, “Mommy, I love it”. She LOVES playing kitchen and pretending to cook all sorts of things so this project was a worthwhile one for our family. My son loves opening the refrigerator to find his favorite food items to play with.
I chose to invest time into building this cardboard play kitchen because I knew my children would enjoy playing with it for years to come. I have so many wonderful childhood memories playing in the kitchen with my younger brother. It warms my heart seeing my little ones enjoy playing in the kitchen, too! Plus, now with the added counter space, my son and daughter can cook and prepare meals together. They won’t be running into each other or invading each other’s space. They each have a space to cook.
The storage space this finished cardboard play kitchen offers is AWESOME! I love that we don’t need any additional shelves or storage units for the play food, dishes, utensils, pots & pans, appliances and kitchen playsets.