This post may contain affiliate links. If you choose to make a purchase through these links, I earn a small commission at no cost to you. I do not promote anything I do not believe in or stand behind.
It was the day after my daughter’s birthday party. The day after a joyous celebration surrounded by friends and family. The day after she received a number of new toys, books and clothes. Our daughter was in toy heaven! She opened a toy and excitedly played with it.
While our daughter was overjoyed by all the new toys, my husband and I saw a living room floor covered in toddler toys. The amount of toys stressed us out, mainly because we spent too much time cleaning up the toys at the end of the day.
Fast forward two months and it was Christmas. I bet you can guess what happened….more toys!
We desperately needed to come up with a system for managing the toys because we didn’t want our house to be taken over by them. We wanted to limit the number of toys our daughter played with at a time. Less toys means more play. More time spent engaged in imaginative and pretend play. More time spent playing with each toy in creative ways. She doesn’t need to play with every toy, every day, so a way to rotate the toys was important to us.
This organizing solution needed to be easy because we didn’t want to spend all our precious time picking up toys. Also, easy enough that our toddler can help! Time is valuable and we certainly didn’t want to waste it cleaning up toys.
This solution needed to be inexpensive and primarily use what we already have as far as storage. The last thing we wanted to do was rush out to buy more baskets, bins and furniture for storing the toys. We would rather take inventory of what we already have and use it more effectively to meet our storage needs. By sticking to what we already owned in our home, we put a cap on the amount we are willing to store in a particular container or space.
Fast forward a few years and we are the parents to a 3 year old girl and a 1 year old boy. So, not only do we have toys for our daughter, we have toys for our son. However, the system we put in place, which took a few years of trial and error to get it where we wanted it, helps us to be in control of the toy clutter. And we FINALLY feel good about how we organize the toys in our home.
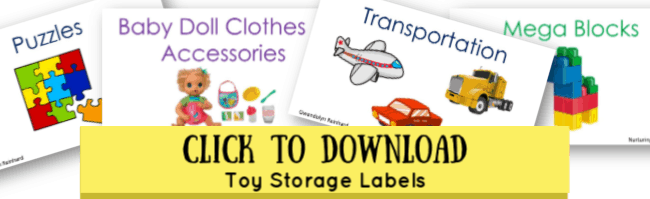
Before I get into this post, make sure to check out my set of Toy Storage Labels. It’s a free set of 12 colored labels you can use to help organize all the toys in your child’s play area. Plus, the pictures support each label, making it super easy for your child to clean up his/her toys. Click on the image below to grab your free set of labels.
In this post, I am going to share with you the four main steps we used to tackle the toy clutter and how we set up an organized system for managing all of them. My hope is that, after reading this post, you will be able to immediately implement these steps and better manage the toys so they don’t take over your house. As with all organization systems, though, what worked for us might not work for your family or your space, but you can take the process we implemented for managing toy clutter and follow it to build your own system that works for your family.
How do I organize my child’s toys?
The first step to tackling the toy clutter is identifying the areas of your home where you want the toys to be.
Where will you spend time playing with your kids? Where do you want your kids to play with their toys?
It is important to take into account the vision you have for your home.
We spend a lot of time in the open living room/kitchen area of our home. This is where we entertain family and friends. It is also where we eat all of our meals. So it is a main living space for us.
We are fortunate enough to have a finished basement. An area of the basement is designated as the playroom.
The basement playroom is where the bulk of the toys are located, especially the larger ones. We have a play kitchen, train table, dollhouse, and a nursery station for all the baby dolls.
Toy Categories for Organizing
Once you’ve decided on the areas where you will keep the toys, the next step is to bring all the toys to one location and lay them out.
My husband filled one of our clear plastic storage bins with all the toys in the living room. He brought these down to the basement, where our storage room and playroom are located. We put all of our daughter’s toys out into the open. This way, we could see everything.
Now, comes the longest and probably most important step. Sort the toys and define categories.
We used plastic storage bins of various sizes to contain the toys of each category.
Initially, we sorted the toys into these very broad categories:
- Infant/Newborn Toys
- Future Toys
- Toys That Will Be Rotated
Then, within each broad category, we developed more specific categories and designated a place for each of these categories. Just be careful not to create too specific of categories or micromanage the toys because it will make it harder to maintain. You also want it to be easy enough to understand so the toddler can help put his/her toys away.
Here are the specific categories we sorted the toys into:
- Animals
- Baby Doll Clothes & Accessories
- Bags & Purses
- Disney Toys & Characters
- Dress Up Clothes & Accessories
- Games
- Jigsaw Puzzles
- Learning Toys
- Little People Playsets
- Mega Blocks
- Transportation (Cars, Trucks, Airplanes, Trains etc.)
Now that you’ve identified the categories for the toys, decide on what you will use to store each category of toy and start putting everything away.
Toy Storage Ideas
A storage ottoman, cube shelf and large basket in our living room are filled with a few favorite toys. Storage ottomans are one of the best storage solutions in our home! You can find them in a variety of styles, at different price points and sizes. This makes it easy to find just the right one for your home. They look nice and we believe it is the best way to store toys in the living room. The toys we put in the living room are ones that would keep our kids entertained if I needed to accomplish something on the first floor (wash the floors, cleaning up the kitchen, make dinner, switch a load of laundry, etc.).
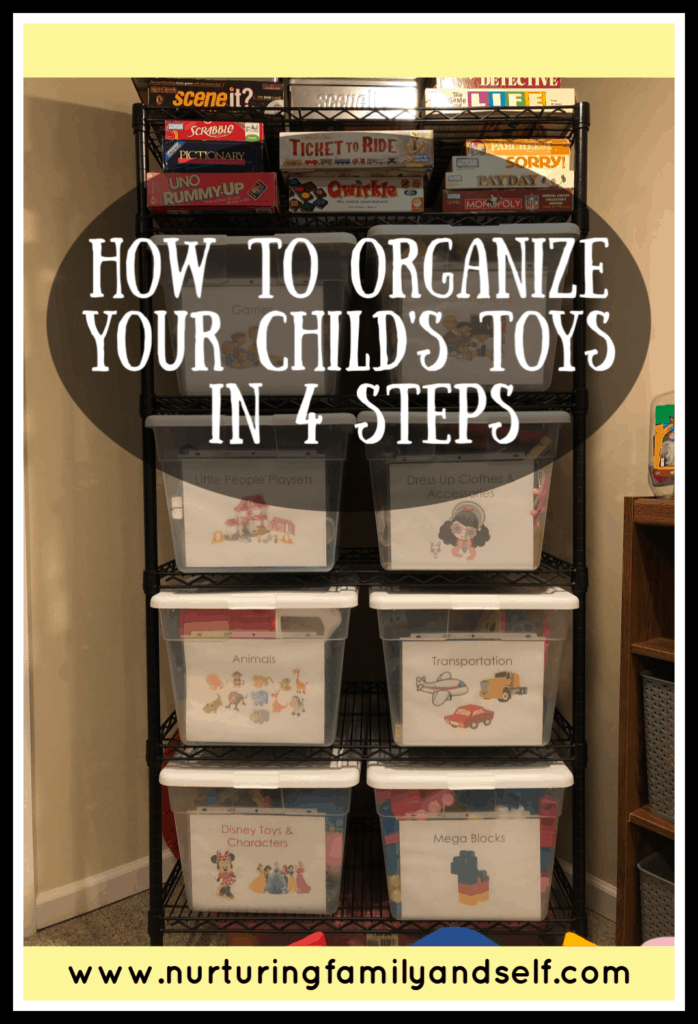
We use a wire shelf to store most of the toys inside plastic storage bins. They fit perfectly on this shelf. I created labels with the category name and a picture. I printed each one, put inside a plastic sheet protector and taped to the inside of each container. The pictures make it really easy for our daughter, and eventually our son, to identify something specific they want to play with. The labels, in my opinion, make the shelf look uniform and organized. The teacher in me loves them.
Now, all of the toys have a place and we are able to add to or rotate different toys. We spend less time cleaning up toys and more time playing with our son and daughter, which is how we like it. We don’t dread the after bedtime cleanup because it takes less than 15 minutes.
Do you have a system for clearing the toy clutter? How do you organize your child’s toys? Share your best tips in the comments below!
You go girl. Love the ideas!
Thank you for the comment! Hopefully it gave you some ideas for your own home!