This post may contain affiliate links. If you choose to make a purchase through these links, I earn a small commission at no cost to you. I do not promote anything I do not believe in or stand behind.
Do you want to design and create a dedicated playroom in your home for your toddler or young children?
Do you need some inspiration on how to set up and organize this play space?
Do you want to create a playroom that is fun, colorful & encourages hours of imaginative play?
If you answered yes to any of the above questions, you are in luck! This blog post is for you!
In this blog post, I will outline how to create a playroom designed with your toddler in mind. After reading this post, you will be inspired to create a play space that:
- Encourages imaginative play
- Includes defined areas of play
- Allows freedom of play
- Is organized
- Makes your toddler happy & excited about play
Step 1: Identify the space you will use for your toddler’s playroom
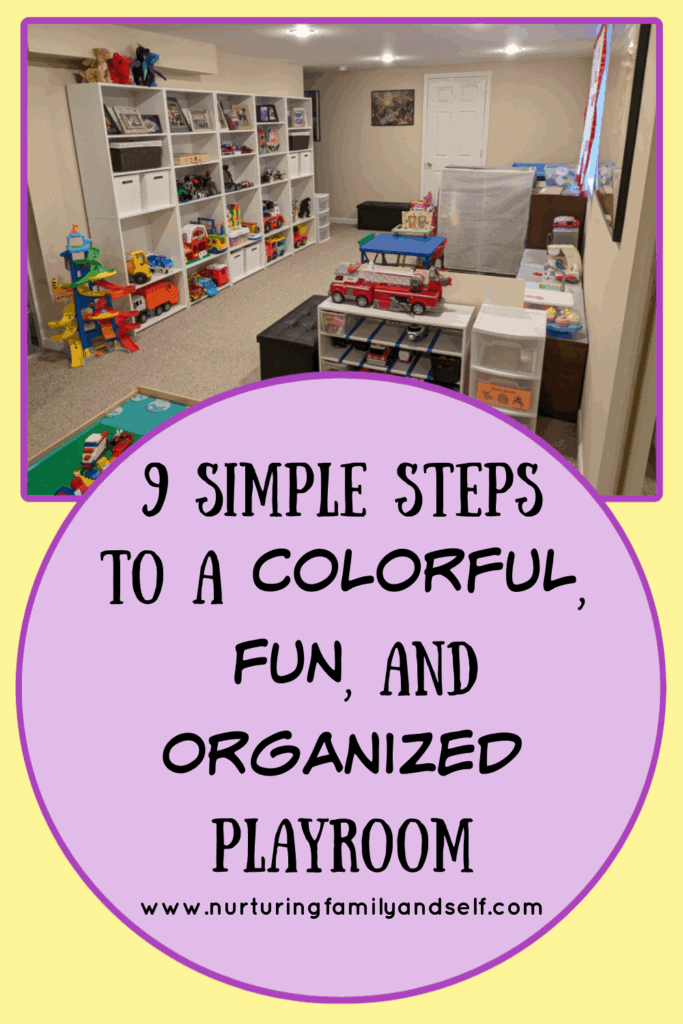
Our main playroom is in the basement. The basement is finished and provides an ample amount of open space for playing. We spend most of our time down here during the winter (it’s nice and warm) and it’s a great space to spend the hot afternoons in the summer. The air conditioning keeps the basement very cool.
Preferably, you would want to choose a space that is separate from the main entertaining/living space. This space should be open, have minimal furniture and lots of overhead lighting and natural light.
It doesn’t matter how big or small the space is, just designate one area in your home that is just for the kids. It could be the corner of the living room or in an extra room of the house. My friend used their formal living room that is off the main living room as their playroom. Just define one space for your toddler and make it their own space for playing.
I just want to stop and make a quick note. We want to create the BEST space for your child, not the perfect space. Focus on making it the best for your child, your family and your home. Don’t worry about designing it the perfect space. There is no such thing as the perfect playroom. Don’t compare your space to others. Just do your best and make it a happy space for your child.
Step 2: Clear out and clean out the space
Remove those pieces of furniture you don’t want in this space. Clear the space of all items that don’t belong in it. I find that when you remove everything from a space, see it in its entirety and start from scratch, it’s easier to piece the space back together into what you want it to be. This was how we designed the nursery, our toddler girl’s bedroom, the activity room, our master bedroom closet, and our home office.
Once the space is empty, go ahead and give it a good cleaning. Vacuum the floor, dust any surfaces, clean any windows, etc. Take advantage of the space being empty and give it a good cleaning! I just love a good, clean space 🙂
Step 3: Choose a Fun & Colorful Theme
Our playroom does not have a theme, but feel free to choose one and paint the space. Pick a theme that is playful, but not overwhelming. Here are a few ideas to inspire a colorful playroom idea:
- Rainbow – Bright and cheerful colors
- Nature – Greens, blues, animals
- Under the Sea, Space, Jungle, etc.
- Pastel tones for a soft, calming vibe
I recommend using a natural base for painting and add bold color accents that match your theme. This gives the space longevity. As your children get older, you can change the accents, but the paint color can remain the same.
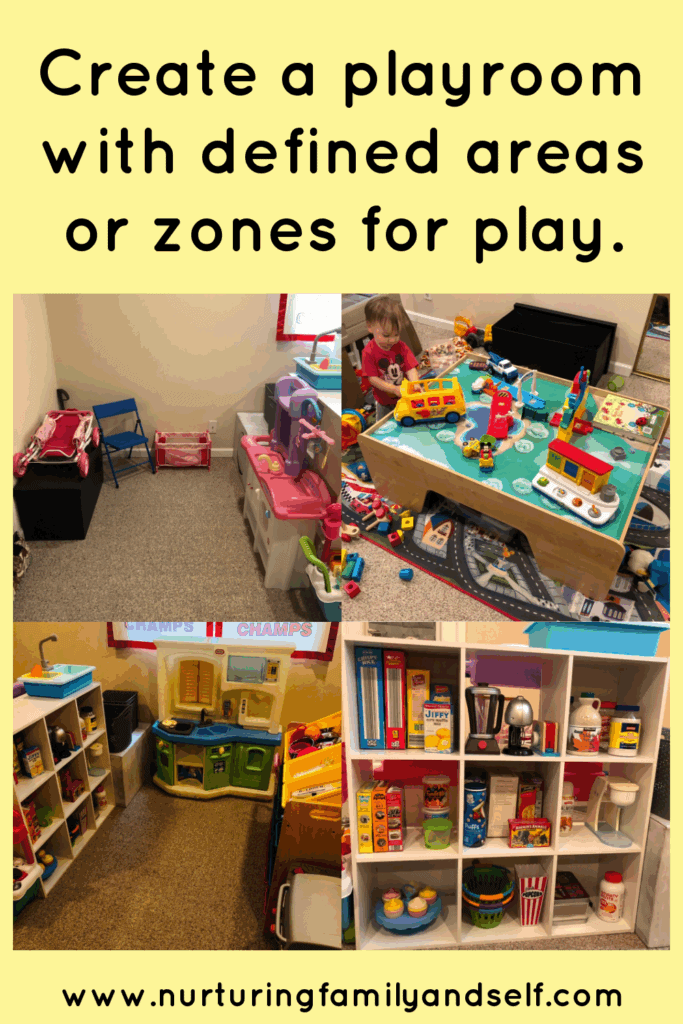
Step 4: Identify the defined areas or activity zones
A Space for Creating
This is where your toddler creates something. This area should include a table for drawing, coloring, painting and using Play Doh. You can also purchase an inexpensive vinyl tablecloth and lay out on the floor when your toddler wants to use Play Doh. You can find these for $3-$5 at Walmart or Target. This makes clean up easy. When they are finished playing, just shake the Play Doh crumbs off outside. We actually do this for Play Doh in our home and it works great.
You’ll want a place for your child to hang his/her finished artwork. We have a large magnetic whiteboard that we use for hanging pictures up with magnets. It is our “refrigerator”. Instead of hanging things on the refrigerator, we hang items on the whiteboard. We also display their artwork in these kids artwork display frames. I like that these frames make it easy to change the artwork. Each one holds up to 100 pieces of letter-sized art. Displaying your toddler’s artwork is a great way to decorate the playroom. Plus, kids love to see their completed work on display.
This zone will need storage for supplies. Create an art cart that can be stored in a corner and wheeled to the table when needed. This 3 tier mesh metal utility cart is a great option for storing markers, crayons, coloring books, paper, stickers, activity books and Play Doh. We store our arts and crafts supplies in a simple tall cabinet. The small shoebox size plastic storage containers fit perfectly on the shelves. They are clear making it easy to find the supplies needed.
A Space for Reading
This space includes books, magazines and flashcards. Organize these on a bookshelf, in sturdy baskets or using these colorful book bins. I recently discovered this rotating book shelf tower and I love it. It’s the perfect way to hold many books in a small space. It works well in the corner of a playroom or a child’s bedroom. Plus, you can choose the finish that works well in your space. Of all the methods I’ve used to organize and store my children’s books, this is by far one of my favorite ways.
Include pillows, a bean bag chair or floor cushion and a colorful rug to define the space. Be sure to choose washable rugs to make the playroom easier to clean and maintain.
This bean bag chair doubles as storage. Use it to store stuffed animals or blankets. During my days as an elementary school teacher, I loved setting up an inviting & cozy reading nook for my students. Thus, I’ve translated this to my home.
Imaginative & Pretend Play Space
I knew from the moment I became a mom, a play kitchen was going to be a must have toy in our home. As a child myself, I loved playing kitchen. I would put on cooking shows and pretend to cook meals for my parents & brother. I enjoyed imitating the cooking segments my family watched on PBS. It was the one toy I played with for many years. Be sure to check out my post containing all things play kitchen. Just click on the image below 🙂
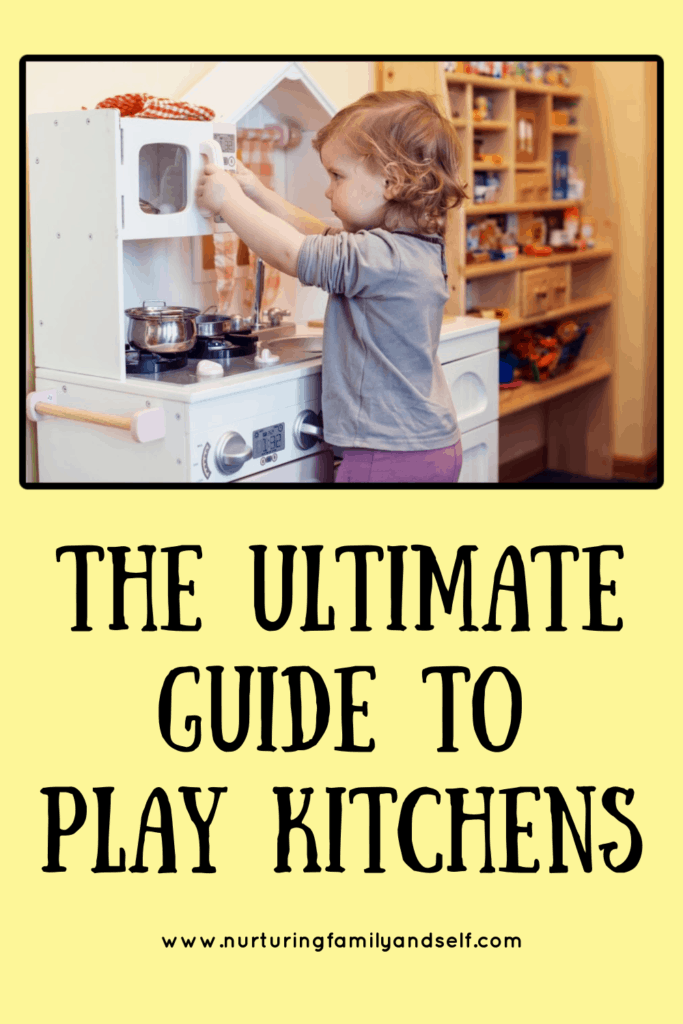
Once we purchased a play kitchen for our home, we set up a “house” section. This space gives our children an opportunity to cook like mommy. They pretend to make pancakes, coffee and cupcakes. We make daddy a lunch, too! The addition of a grocery store, shopping cart & empty food containers welcome pretend play. We make a grocery list and go shopping for ingredients to make our favorite treats.
This “house” section includes a nursery playset. Our daughter loves playing with her baby dolls. She changes their diapers, feeds them a bottle of milk, gives them a bath and puts them to “night-night” in the crib. This part of the play space started when we gifted her a baby doll playset that included a crib, stroller, carrier, car seat and diaper bag for her second birthday. We also gifted her a baby boy doll because we were expecting our son two months after she turned two. She takes care of her baby doll like mommy takes care of her baby brother.
Dress up is another fun activity to do in the playroom. My husband and I check out Walmart and Target after Halloween to find discounted princess, superhero and community helper costumes. We make sure to include these costumes in the imaginative and pretend play space of our playroom. Storage can be complicated for these, but using a series of command hooks on the walls or back of a door is a simple way to hang up the costumes. We have even used a storage ottoman to contain the costumes and any accessories.
Imaginative and pretend play is probably my favorite type of play. I love watching my children imitate the actions of our daily life and pretend to be different characters. They act out scenarios and take control of their own play. The way in which we set up this space in the playroom nurtures this type of play and I know my children will enjoy it for many years to come.
General Play Space
This is just a space for playing with all the toys. This is the area where they build and play. Use a fun, playful area rug to define the space. This one with roads and buildings is our favorite! My kids love driving their toy cars around the neighborhood to visit the different places.
Step 5: Sort through your child’s toys
Go through your child’s toys. Take honest stock of what toys your toddler owns, which toys he/she loves to play with and which ones he/she rarely plays with. Consider the rule of quality over quantity when it comes to your child’s toys. When children have too many toys, it makes it difficult for them to focus. If you need some ideas for an upcoming birthday or holiday, be sure to check out my post Best Toys for Your Toddler.
In our home, we choose those toys that are enjoyed for many years, encourage imaginative & pretend play (as mentioned above), and those that encourage problem-solving & creative thinking. Choose to donate, sell, or give away the toys that are no longer played with to a friend. Throw away any toys that do not work. Sort the toys you want to keep into categories.
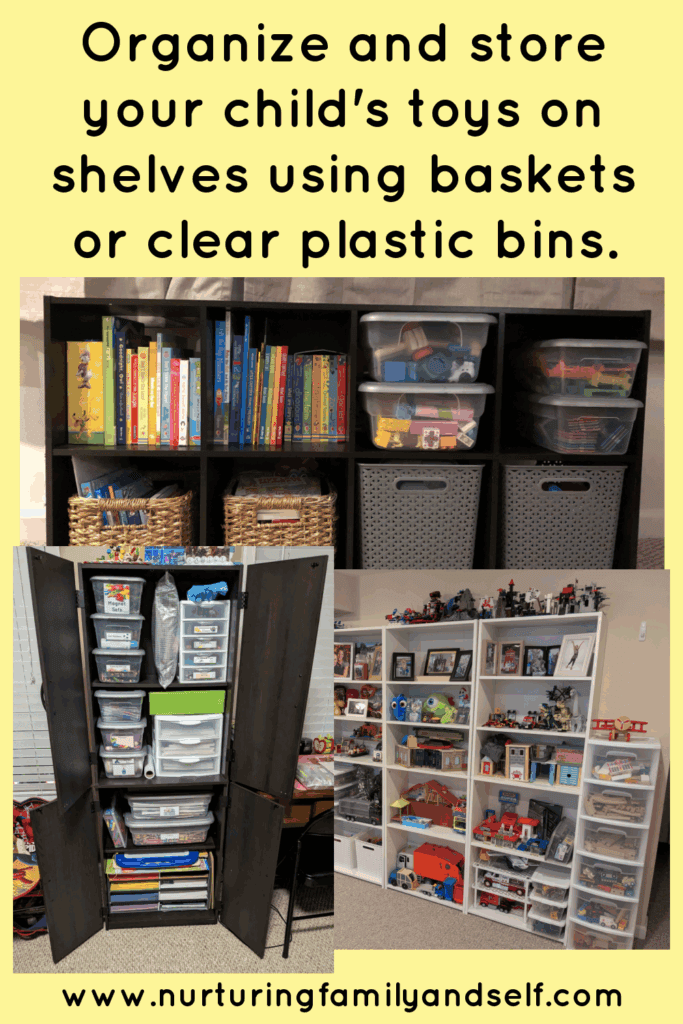
Step 6: Decide on toy storage
Decide on a piece of furniture to organize and store your child’s toys. Our favorites are a low cube shelf or these simple tall white bookshelves. Both came from Target, but you can find them at Walmart or even on Amazon. Just be sure to secure them to the wall to prevent tipping over.
When it comes to the tall bookshelf, you can place items on the higher shelves that you prefer they play with an adult. You can also create a toy rotation system by switching out the toys from the lower shelves with those on the higher shelves. I do love the tall white bookshelves because they utilize the vertical space of our playroom. However, do what works best for you, your home, your children and your family.
If you are not a fan of the open shelves for toy storage, another option is a buffet cabinet. The toys can still be organized in baskets, but there are doors to keep the toys out of sight when not being played with. In fact, I have seen families put cabinets below their TV and entertainment area. These were used for storing toys, art supplies, puzzles and games. This is a great option if you don’t have an additional room to designate as a playroom. It gives the room a clean and uncluttered look when children are not playing.
These plastic baskets or clear storage boxes work well for storing the toys on the shelf or cabinet you choose. There are lots of more decorative options for baskets, if you prefer. However, I like using plastic ones because they are easier to clean than fabric baskets. Choose something that works well with your space and matches your home decor!
Step 7: Plan the layout of the playroom
Once you’ve defined the areas you want in your toddler’s playroom, it’s time to figure out the layout. My husband and I tried to create some division of space between the areas. But our open basement area allowed for this. The main reason for this is to prevent kids from being on top of each other during play dates. Keep all the furniture around the perimeter of the playroom. Draw a map of the play space on a piece of paper or try out a few arrangements during naptime.
Step 8: Decorate and add any finishing touches
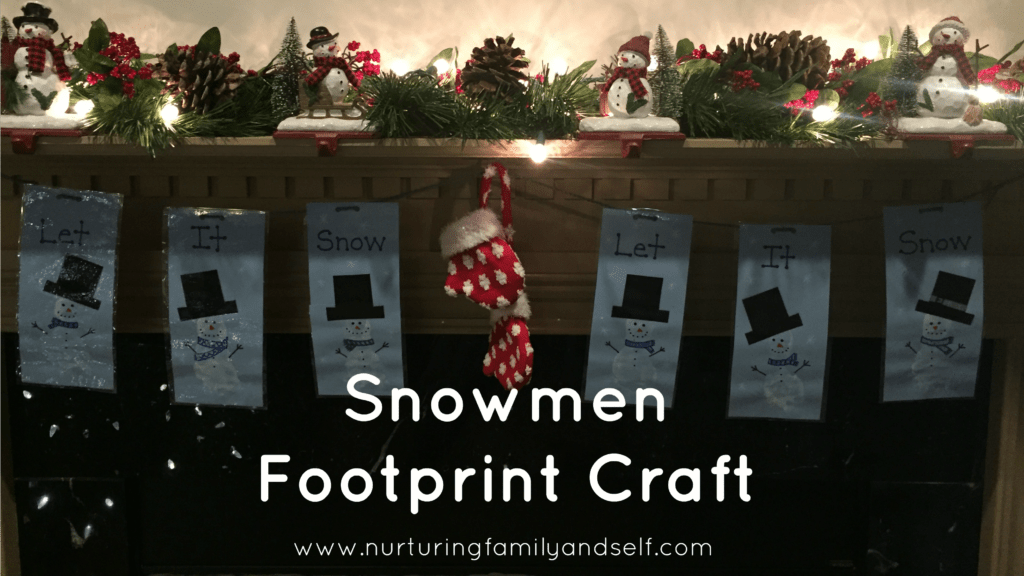
Add visual interest and decor to the playroom. This can be accomplished by hanging whimsical artwork, kids’ creations or wall decals.
Involve your toddler in the decorating of the playroom by painting white paper. Give your toddler several sheets of white paper cut to the size you want. Put out washable paint and some sponge brushes. Then let your child create! Let the paintings dry and put in frames to hang on the wall.
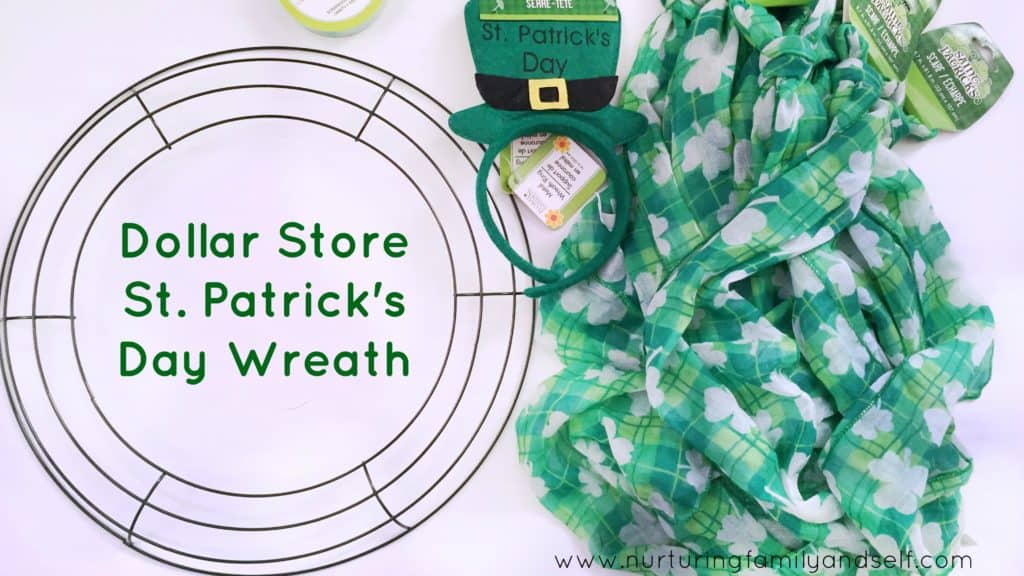
Another great idea for a wall decoration is framing jigsaw puzzles. You can find lots of great puzzles in various sizes and pictures at the Dollar Store. Spend time putting it together. Then glue the puzzle together using Mod Podge. Let the puzzle dry and put into a poster or picture frame.
Peel and stick wall decals are an easy and inexpensive way to decorate the playroom. There are quite a variety to choose from on Amazon!
Family photos or photos of your children always make great wall décor, too! You can also visit your local craft store to browse their selection of canvas prints. Walmart and Target sell some, too.
Step 9: Put the playroom together
Invite your children along to organize and put all the toys away. When your children help set up the playroom, it gives them ownership over the space. This will lead to better clean-up habits. At least that is the hope! Then sit back and enjoy watching your children play, learn and grow in their new playroom.
There you have it! Following the 8 simple steps outlined in this blog post will help you create a colorful, fun, and organized playroom for your children. It will be a space they want to come back to again and again for hours of play. As Maria Montessori said, “Play is the work of childhood.” Play is how our children practice what they are learning and it’s necessary for their development. Let’s set up the playroom and get playing 🙂
What a bright and encouraging article! I love how it shows that creating a toddler playroom doesn’t need to be overwhelming — just thoughtful steps, colors, and practical organization. The tips on toy storage, safety, and playful décor really bring the room to life. It’s a smart, manageable guide for families wanting a fun yet organized space. Thanks for this!
Thank you so much for the comment Zandra! I appreciate the feedback and am happy to hear you found it valuable. Setting up a playroom definitely doesn’t need to be overwhelming!