This post may contain affiliate links. If you choose to make a purchase through these links, I earn a small commission at no cost to you. I do not promote anything I do not believe in or stand behind.
When I became a mom, I searched on Pinterest for all things baby during night time nursing sessions. Baby play was a popular search topic. My experience with babies is limited, but learning about all of the different ways to play with my daughter interested me. One of the ideas I loved was creating sensory bottles. These are also referred to as discovery bottles. It was a simple toy that could engage my daughter through sight and sound. So, I started brainstorming ideas and put aside some supplies. However, I never actually made the bottles for my daughter.
Fast forward two years later and I came back to the idea of making sensory bottles for my son. At 6 months, he is so interested in exploring the world around him. He wants to grab, touch and feel everything with those little hands! He especially loves any object that makes a sound and is drawn to bright colors. Sensory bottles are the perfect way to engage his senses!
Sensory bottles are easy and inexpensive to make. Most of the supplies I already had in my house or purchased from the Dollar Store or Bullseye’s Playground at Target (AKA Target Dollar Section).
There is no right or wrong way to put together sensory bottles. They are 100% customizable. This means you can fill the bottles with objects that meet the needs and interests of your own children. The bottles I describe in this post should serve as inspiration or a starting point for making your own collection of bottles. They are so easy and a lot of fun to create!
The goal of sensory bottles is to provide your baby (and toddler) with a variety of colors, sounds and objects to explore in a safe way. My daughter, who is now 2 ½, helped me make the sensory bottles so it ended up being a two-for-one activity!
Related Post: 15 Screen-Free Activities for Your Busy Toddler

What materials do you need to make sensory bottles?
Below are the materials you will need to create your very own set of sensory bottles. Begin with what you already have in your house. Don’t feel as if you have to go out and buy every single item described below.
Clear Plastic Bottles – I found small craft bottles at the Dollar Store and these plastic juice containers on Amazon. The size was perfect for little hands and the price was right for our budget. I also cleaned out plastic food jars and spice containers. When I was learning about sensory bottles, a lot of moms recommended these Voss Water Bottles. It is really up to you on which type of clear plastic bottles you want to you use!
Hot Glue Gun & Hot Glue Sticks – You will use this to seal the lid onto the bottle so that it can’t be opened.
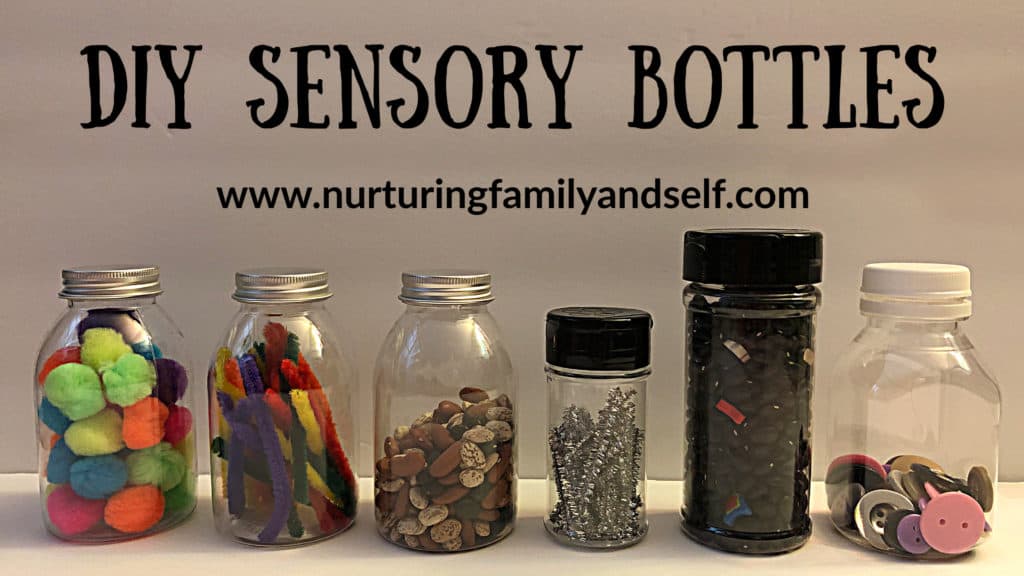
Bottle Fillers – Look around your house first and see what you have in your pantry, office drawers, and closets. Small objects of various shapes, sizes, and colors are perfect for sensory bottles!
Pantry Items
- Colored Drinking Straws – Cut the straws into 1/2 inch sized pieces.
- Dried Beans
- Lentils
- Pasta
- Popcorn Kernels
- Rice
- Sea Salt
Craft Items
- Beads – Perler Beads, Wooden Beads, Pony Beads, Letter & Number Beads
- Bells
- Buttons
- Cotton Balls
- Feathers
- Glitter
- Googly Eyes
- Ornament Filler
- Pipe Cleaners
- Pom Poms
- Ribbon
- Sand – Colored or Plain
- Sequins
- Yarn
Miscellaneous Items
- Aluminum Foil
- Beaded Necklaces
- Counting Bears
- Decorative Glass Gems
- Marbles
- Mini Erasers
- Pebbles
- Puzzle Pieces
- Rocks
- Rubberbands
- Seashells
- Screws, Nuts, & Bolts
- Shredded Paper Basket Filler
- Spare Change – Pennies, Nickels, & Dimes
- Small Plastic Hair Ties
- Water Beads
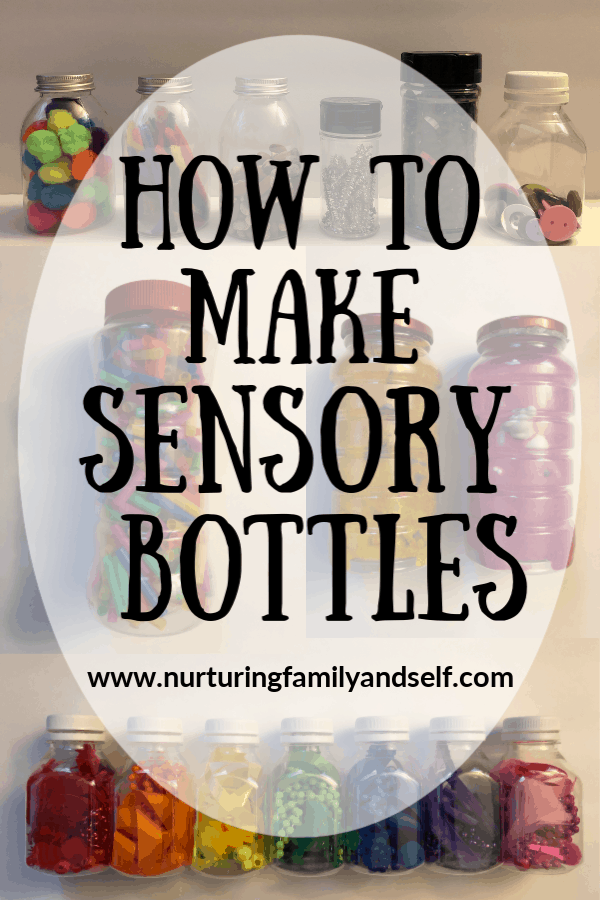
How do you put together your DIY sensory bottles?
First wash the bottles you are planning on using.
Goo Gone, Coconut Oil, or Nail Polish Remover work well for getting off the labels and sticky residue left behind. Use a paper towel and some elbow grease to rub the sticky residue off the bottles.
A drop or two of Lemon Essential Oil also works wonders on those stubborn bottle labels!
Wash the bottles in hot, soapy water and let dry completely.
Next gather all the items you want to put in your sensory bottles. I walked around my house with a clear plastic bin and filled it with the items I wanted to use.
After you’ve decided what you want to put inside your bottles, you’re ready to create your bottles! This is the fun part of the project and you are only limited by your imagination!
Below I describe the sensory bottles I created with my toddler. Both my toddler and baby enjoy holding, rolling, shaking and exploring the bottles. We enjoy talking about the contents and what we observe. They are a wonderful addition to our playtime!
Rainbow Sensory Bottles
These colorful bottles were super fun to make. Go around your house and gather small items of the colors of the rainbow. Look through the craft closet and see what you can find. Then have your toddler sort the items into the jars by color.
My daughter enjoyed doing this activity with me.
Once I was satisfied with the bottle contents, I put hot glue around the bottle thread and screwed the lid on. Now the lid is glued shut and cannot be taken off, keeping the contents inside for looking and out of mouths for eating.

Exploring Sounds Sensory Bottles
Rainstick Sensory Bottle
My friend was gifted a rainstick toy for her baby girl. I thought it was the coolest toy and knew my baby boy would enjoy one. However, I didn’t want to buy one because I thought it would be fun to make my own. It was super easy as it used a clean & dry peanuts container, rice and neon plastic straws cut into half inch pieces.

Fill the bottle about halfway with the straw pieces. Then fill the bottle with a half cup of rice. Add in some more straw pieces. Put the lid on and see how the bottle works. Add more rice or straws depending on the size of the bottle. You don’t want the bottle to be filled to the brim because you need some room for the rice and straws to move.
The sound replicates a rainstick and the bright colors catch the attention of my baby boy.
My daughter enjoys shaking and rolling the bottle.
Quiet & Loud Sensory Bottles
This set of sensory bottles are filled with pipe cleaners, dried beans, colored pom poms and buttons.
These bottles engage my toddler in the exploration of volume when it comes to sounds. You can use them to talk about opposite sounds. The bottle with the dried beans is loud. The bottle with the pom poms is quiet. The bottles filled with dried beans and buttons work well as musical instruments, too! You can switch from shaking them fast to shaking them slow.
My baby boy can look at the clear sensory bottles and explore the items. As he gains more fine motor control, he can have fun shaking, rolling and turning this set of sensory bottles.

Search & Find Sensory Sand Bottles
These sensory bottles can be used to play “I Spy” with your toddler. This sensory bottle is a great one to bring along in the car, the waiting room at a doctor’s office or inside a store for toddler entertainment.
Find a few small toys (or use mini erasers). Fill the bottle halfway with sand (colored or plain). Rice works well if you don’t have sand.

Put in small toys. These mini counting bears are perfect for this sensory sand bottle. Your toddler can search for a specific color bear. If your toddler is at the age of identifying letters & numbers, use a set of magnetic letters (or numbers) inside the bottle. You can find small sets of these at the Dollar Store.
Fill the rest of the bottle with sand. Put the lid on and shake the bottle around to see how the toys and sand move. If you are happy with the result, use a hot glue gun to seal the bottle shut. You want there to be room for the sand to move around. So don’t fill the bottle to the top.
Sensory bottles are an easy, inexpensive and fun way to engage your baby and toddler during playtime. These bottles invite your little ones to explore, observe, manipulate, wonder, ask questions, and build vocabulary in a safe way. So, tell me, which sensory bottle are you most excited to make?
Oh wow!! This part is so well done and so informative!! Thank you! We can’t wait to try it!!!
Thanks Danielle! I’m so glad you found this post informative 🙂 I hope you enjoy making and exploring them!
Hi,
The collection the sensory bottles together it is very time consuming task and you also have to more think about it so thank for the beautiful post.
Thank you for the comment! My daughter enjoyed helping me put these bottles together.
Pingback: 20+ Indoor Toddler Activities That Will Save Your Sanity - YES!