This post may contain affiliate links. If you choose to make a purchase through these links, I earn a small commission at no cost to you. I do not promote anything I do not believe in or stand behind.
Time needs to slow down!
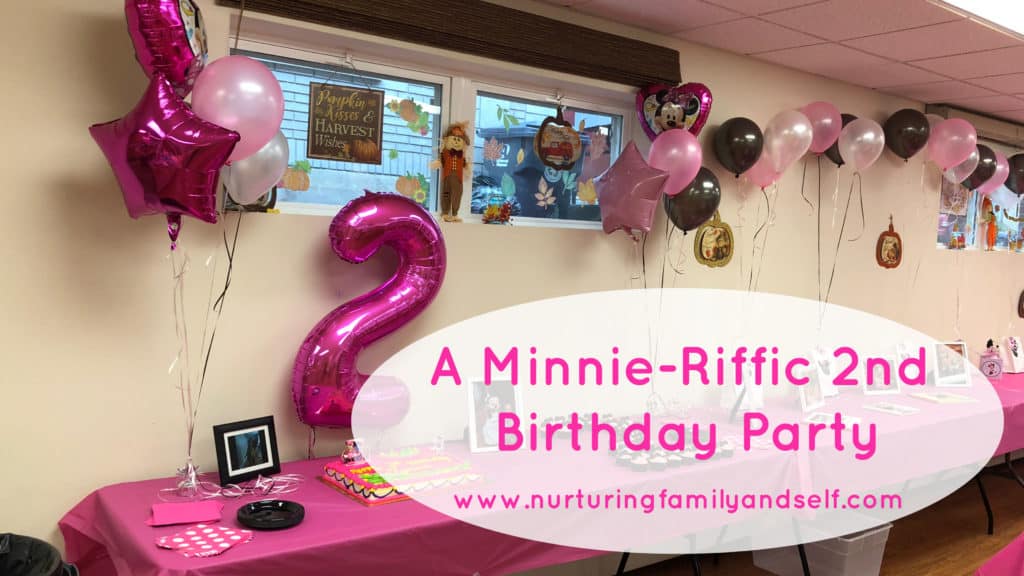
My daughter recently turned two and we celebrated with a Minnie Mouse birthday party. She loves Minnie Mouse (AKA Me-Me) so we knew this was the perfect theme for her second birthday party. We chose to center the birthday party around three colors: bright pink, black and white. Then, sprinkled touches of Minnie Mouse throughout the party decorations, toys/activities for the children, favors, my daughter’s birthday outfit, food and birthday cake. By using these three colors as the central theme of the birthday party, any extra party supplies can be reused for another party.
The purpose of this blog post is to share with you how I planned and implemented a Minnie Mouse themed second birthday party for my daughter. My hope is that you will be inspired to plan your own birthday party, whether Minnie Mouse is the character of choice or not.
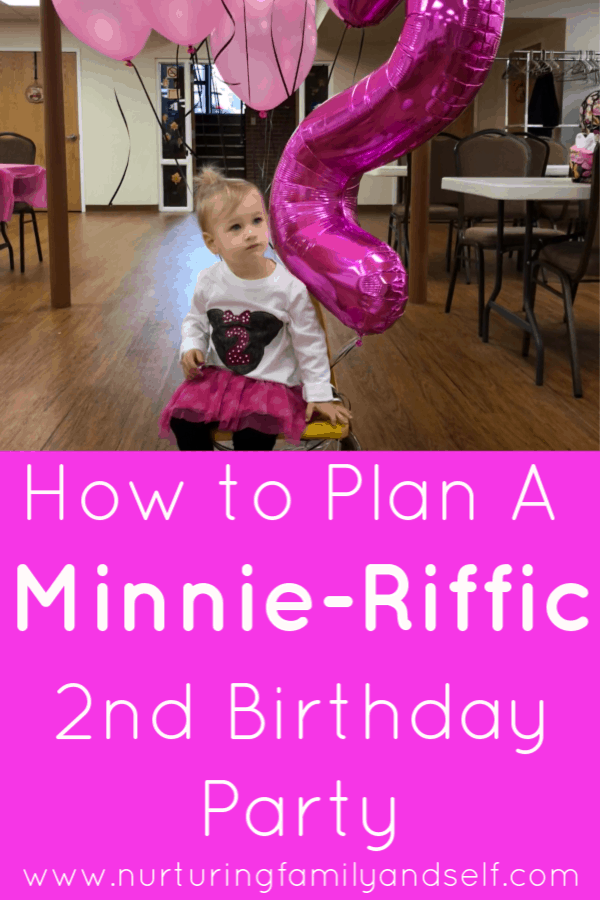
I kept the party planning very simple and was extremely happy with how it all turned out. The best part of the party day was seeing the pure joy on my daughter’s face 🙂 She had a blast at her birthday party. She enjoyed every minute of celebrating being two with her friends and family.
Invitations
After we chose the theme for my daughter’s second birthday party, we chose the date, time and location. Originally, the birthday party was going to be outside at a local park/playground. However, the weather forecast did not cooperate so we relocated the party to an indoor location. We will most likely stick to an indoor location moving forward.
There are many options for birthday party invitations:
- Buy sets of invitations and hand-write the details on each invitation
- Customize your own invitations on a website such as Shutterfly, Vistaprint or Amazon Prints
- Create and send out an email invitation
- Create a Facebook Event for the birthday party and send invitations through Facebook
- Design and send out a text message invitation using an app or by adding text to a favorite photo
- Create and print your own using various computer programs
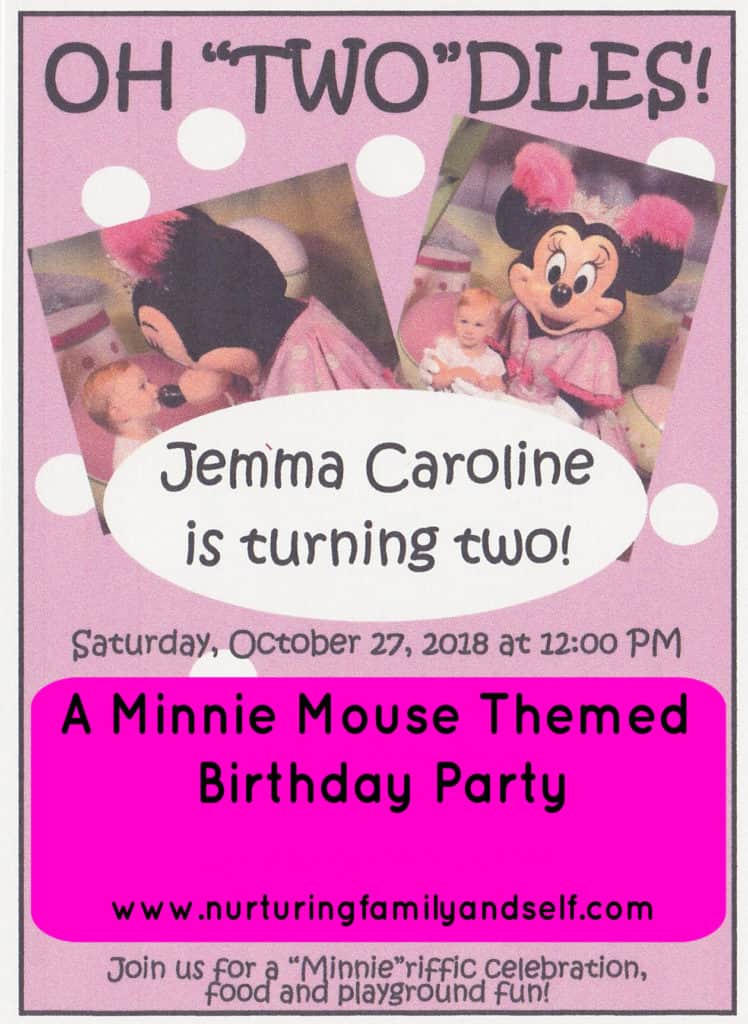
I searched online for Minnie Mouse birthday invitations, but could not find any to fit the color theme or style I wanted. So, I decided to create and print my own birthday party invitations using Microsoft PowerPoint. I consider myself to be fairly proficient in using Microsoft PowerPoint to create documents from the 10+ years I spent using it to design activities and graphics for my classroom. Plus, I love creating things 🙂
I loved the “Oh ‘Two’dles” phrase floating around the Internet for Minnie and Mickey Mouse second birthday invitations so this was a must to include! Mickey Mouse Clubhouse is a favorite in our house.
Another must was adding two of my favorite pictures of my daughter with Minnie Mouse at Magic Kingdom. The text I chose to use was Kristen ITC, which most closely resembled playfulness and Disney to me 🙂 Then, I simply played around with the font sizes and spacing until I was happy with how the invitation looked. It definitely required some patience and time, but the end result was totally worth it!
Once the invitations were made, I made a Guest List. Now, we keep an Address List Master on Google Drive that includes every friend and family member we send Christmas cards to. This list started when we were planning our wedding and we continue to add to it and update addresses on it as the years go by. For my daughter’s second birthday party, my husband and I went through the master list and highlighted those close friends and family we wanted to invite to the birthday party. We were keeping her birthday party on the smaller side by only inviting our closest friends and family with whom we stay in touch on a regular basis. We did send birthday party invitations, as a courtesy, to some out of town family members. These family members stay in touch with us throughout the year, but live too far away to make the trip. These family members include a great aunt (Buffalo, NY), an aunt & uncle (Bozeman, MT), and my husband’s grandparents (Texas).
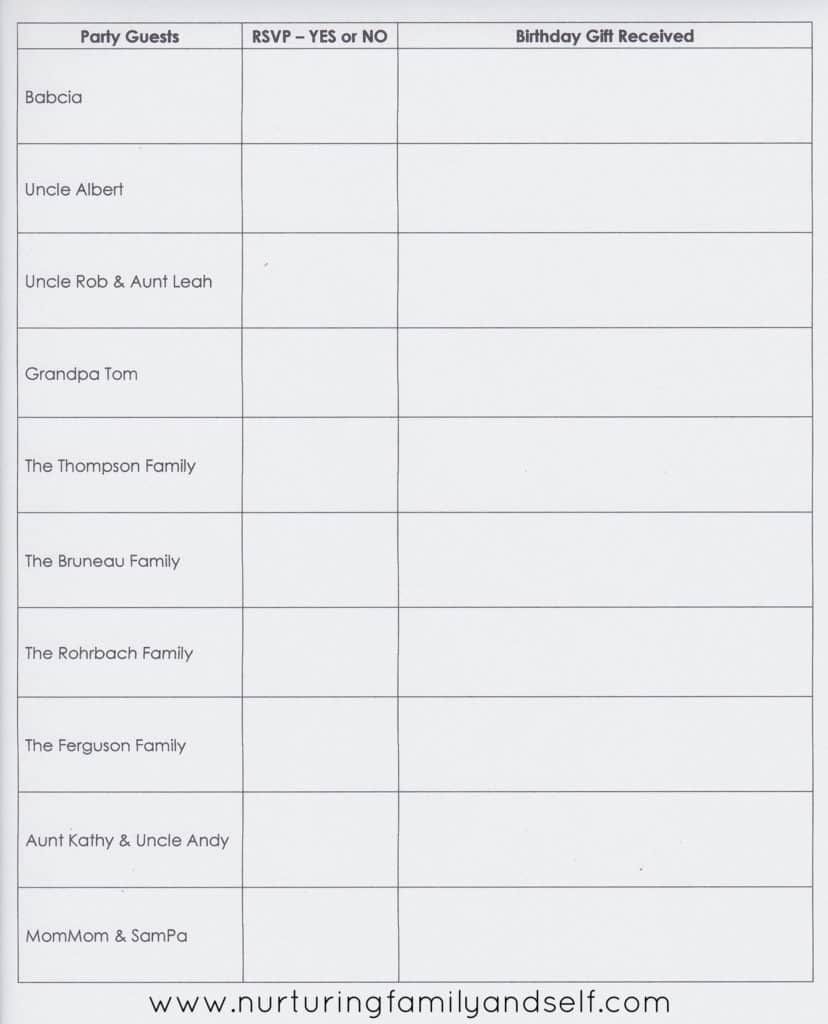
When the guest list was finalized, I created a 3-column table in Microsoft Word. The first column listed the party guests, the second column was for recording “Yes” or “No” as the RSVPs started, and the third column was for recording the gift received from each guest. This document made it very easy to keep track of RSVPs, birthday gifts received in person and via the mail, and to write thank you notes 🙂 Click here to print your own copy of this document to use for your next birthday party!
We totaled the number of invitations we would be sending out and I printed them on white cardstock. The invitations were about the size of a 4×6 photo so I printed two per sheet of cardstock, cutting them out. I also purchased a box of plain white invitation envelopes and several sheets of stamps. I purchased enough envelopes and stamps for party invitations AND thank you notes.
The birthday invitations were sent out about six weeks before the party. My goal is to send them out 6-8 weeks before the event with an RSVP date two weeks before the event.
Planning & Implementing the Details for A Minnie Mouse Themed Birthday Party
Now that the party invitations were sent out, it was time to start collecting ideas and planning the details for my daughter’s Minnie Mouse themed 2nd birthday party 🙂 In my opinion, this is when the fun begins and my absolute favorite part about planning a birthday party.
Search & Organize Ideas
Google and Pinterest were my go-to search engines for finding ideas and inspiration for the Minnie Mouse themed birthday party.
As I found ideas on Pinterest, I saved them to a specific board.
You can also print pictures of ideas from Pinterest and Google, collecting them in a binder organized by category (Guest List, Decorations, Food/Drink, Cake, Activities, Birthday Outfit, Timeline for Party, Receipts, etc.).
Decide the Layout of Location
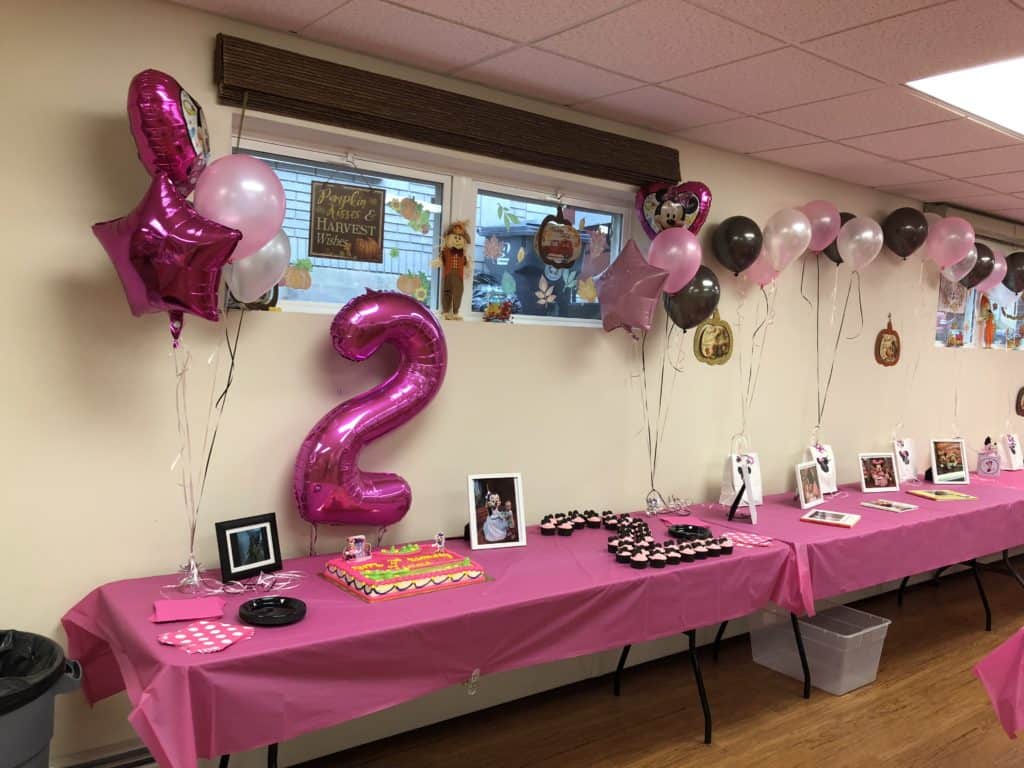
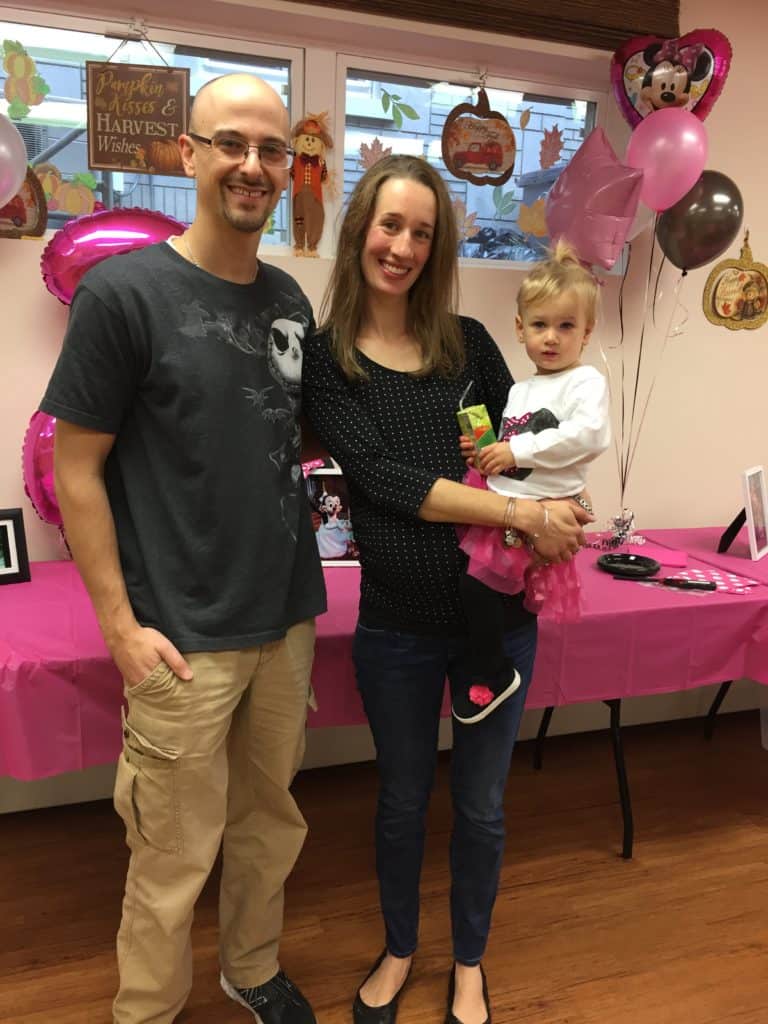
Along this wall, we had three tables set up: a dessert table, a display table and a gift table. All three tables were adorned with a tablecloth, balloons and pictures of our sweet birthday girl 🙂
- Dessert Table – We ordered a Minnie Mouse themed birthday cake from our local Giant Food Stores. I absolutely loved how it turned out…it was too pretty to eat! The Minnie Mouse cupcakes were arranged in a “2”. I love baking cupcakes for parties and special events. They are an easy dessert because there is no cutting involved. Just grab and eat! The cupcakes were enjoyed by all of the little ones who attended my daughter’s birthday party 🙂 We put a digital photo frame on this table, which shuffled through pictures of my daughter from the past year.
- Display Table – One of my favorite ways to decorate for a birthday party is by printing and framing pictures. We traveled to Disney World three different times over the past year. We decided to print 8×10 pictures of our daughter meeting Minnie Mouse at each park. After the party, these pictures are going to get hung in our daughter’s bedroom, which also happens to be Minnie Mouse themed 🙂 We also laid out a few of our photo books. The photo books were of our Disney World trips in November and April and my daughter from 12-18 months old. Our family and friends really enjoyed looking through the photo books 🙂 I put a lot of time into creating them so it made me happy to share them with our birthday party guests!
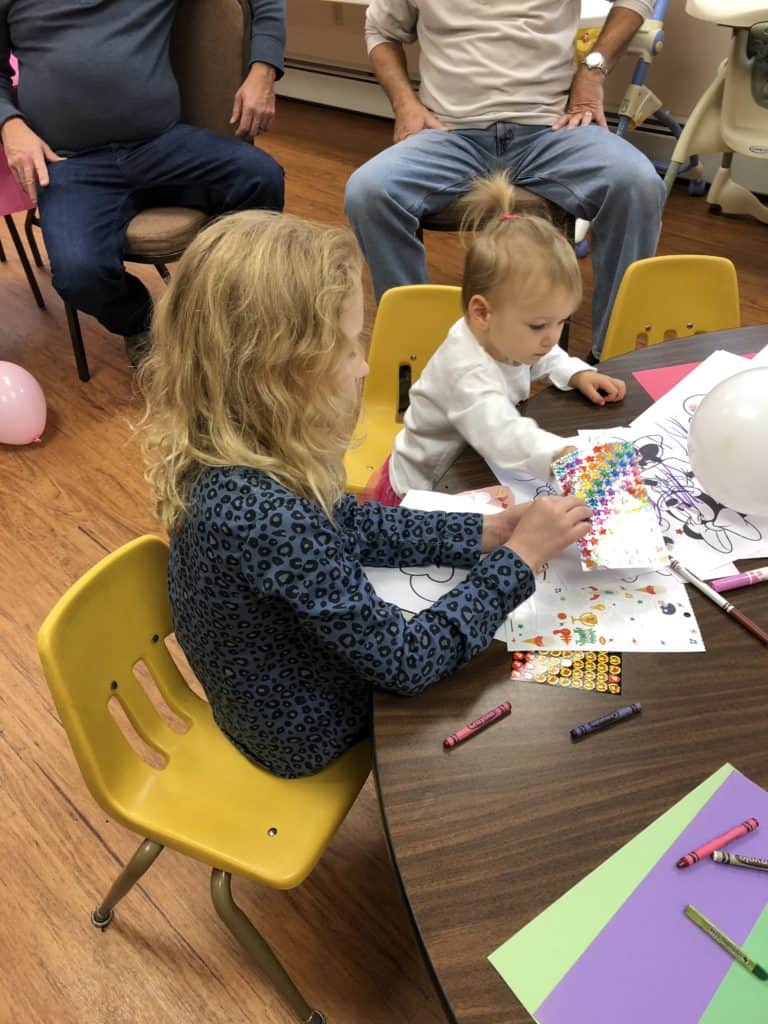
My daughter loves to color, draw and play with stickers. Therefore, I wanted to set up an activity table for the kiddos attending my daughter’s birthday party.
Here is what we put on the activity table:
- Mickey Mouse Coloring Pages
- Minnie Mouse Coloring Pages
- Variety of Construction Paper
- Crayons
- Markers
- Variety of Stickers – Kids LOVE stickers!
My daughter received MANY pictures from her friends 🙂
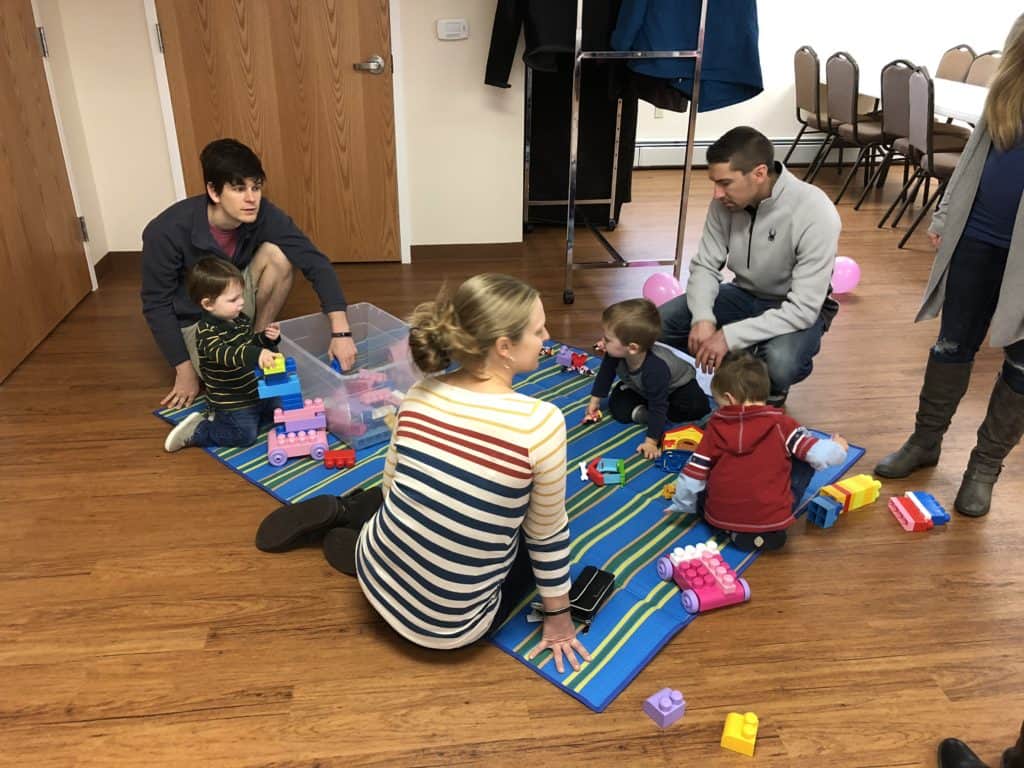
I wanted to have some toys for the kids to play with, as well. Most of the kids who attended my daughter’s birthday party are around two. We laid our beach/outdoor mat on the floor to create a defined play area and filled a plastic bin with some toys 🙂 Here are the toys we included in the play area:
- Mega Bloks – Kids LOVE to build!
- Fisher-Price Little People Magic of Disney Mickey & Minnie’s House Playset
- Minnie Mouse Pet Shop Playset
- Balloons – Kids LOVE balloons! This is an easy way to keep the kids happy and entertained during a birthday party. Plus, kicking, throwing and chasing the balloons helps tire them out for naptime 🙂
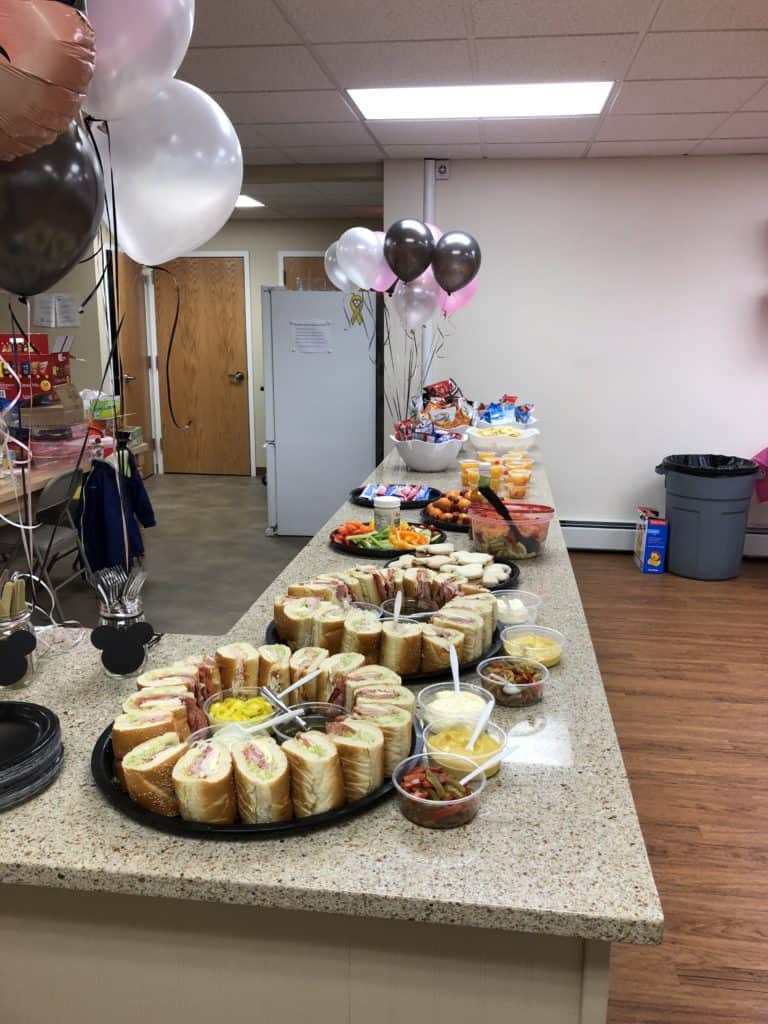
Decide & Make the Food for the Party
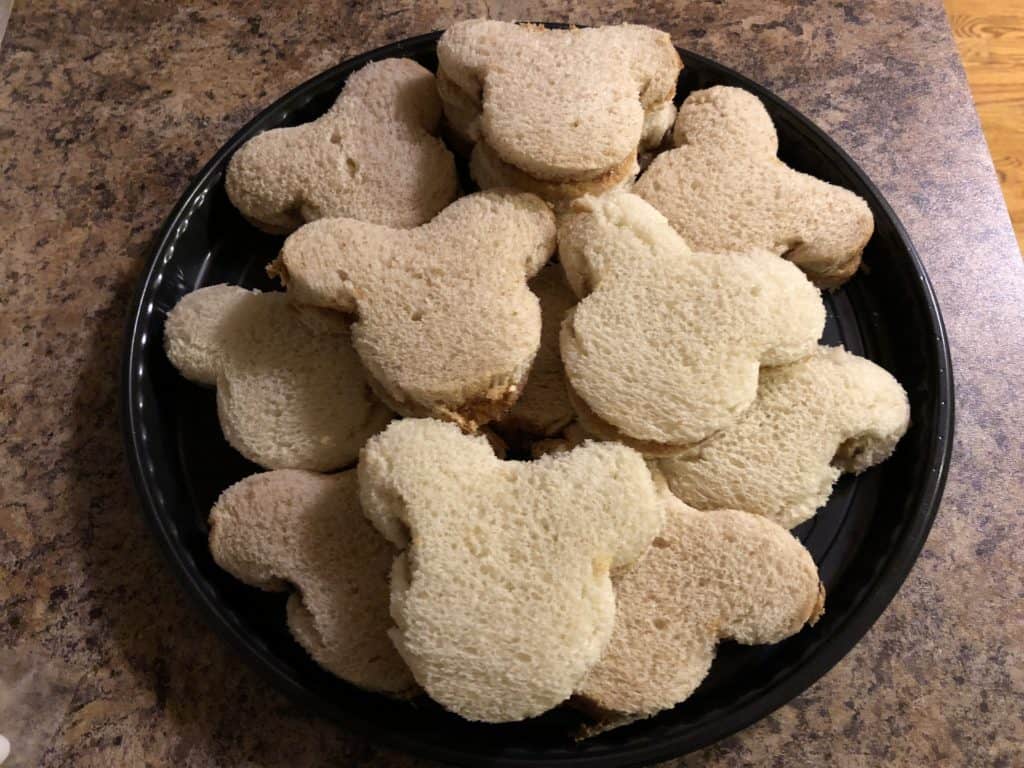
The timing of the birthday party was 12-2 so we served lunch. We ordered hoagie trays from a local grocery store and chose to make a tray of Mickey Mouse Peanut Butter & Grape Jelly sandwiches for the kids. I prepared the sandwiches on a mix of white and honey wheat breads. I used a Mickey Mouse cookie cutter to create the shape. The sandwiches were made the day before and kept in the refrigerator until party time. To prevent the bread from getting soggy from the jelly, I spread peanut butter on both slices of bread before putting on the jelly. These were a hit with the kids and some of the adult guests 🙂
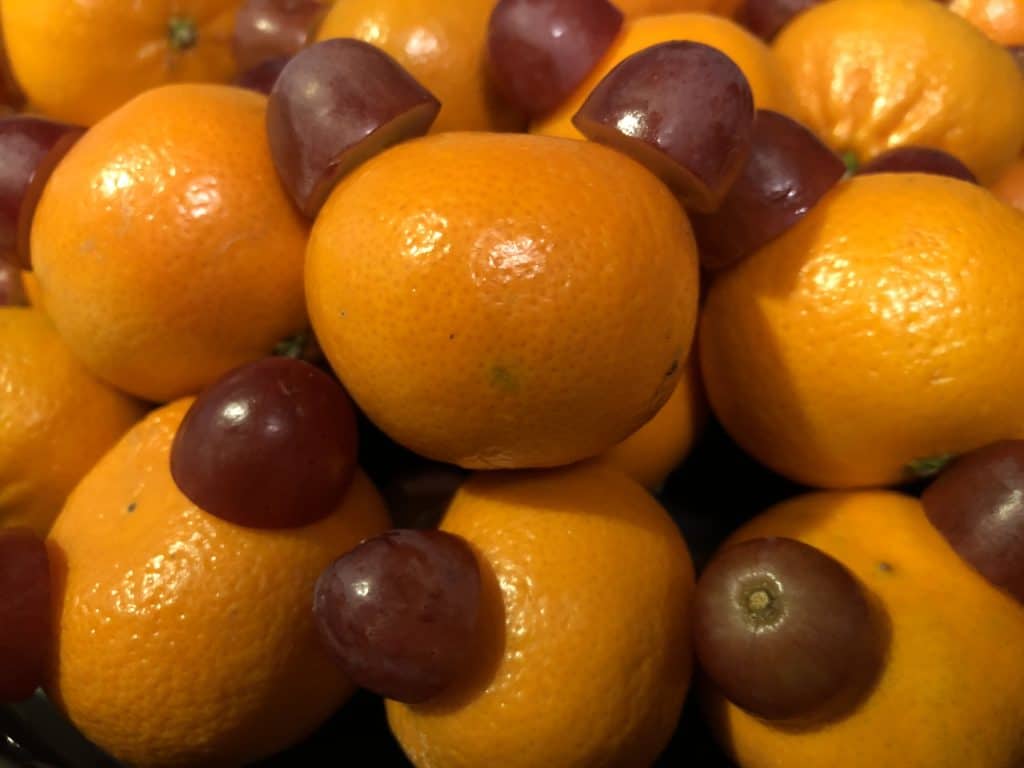
There was a vegetable tray of baby carrots, celery, cucumbers, grape tomatoes, bell peppers and ranch dressing for dipping. We also had a variety of fruit cups in 100% juice. To add to the Minnie Mouse theme, I used red grapes and clementine oranges to create Minnie Mouse heads 🙂 To do this, I cut a toothpick in half using kitchen shears. Then, I placed each half of the toothpick into the orange. The grapes were cut in half and each half was placed over the toothpicks. A simple way to add a special touch to the food!
Here is the rest of the food we put out for the birthday party:
- Pasta Salad – My mother-in-law made her pasta salad for the party.
- Assorted Individual Bags of Chips
- Individual Bags of Pretzels
- Blueberry & Strawberry Yogurt Tubes – I froze these when I purchased them so they would stay nice and cold at the birthday party.
- Individual Bags of Goldfish and Ritz Bitz Peanut Butter & Cheese Sandwich Crackers
- Assorted Individual Bags of Cookies (Nutter Butter, Oreos, Chips Ahoy, Animal Crackers)
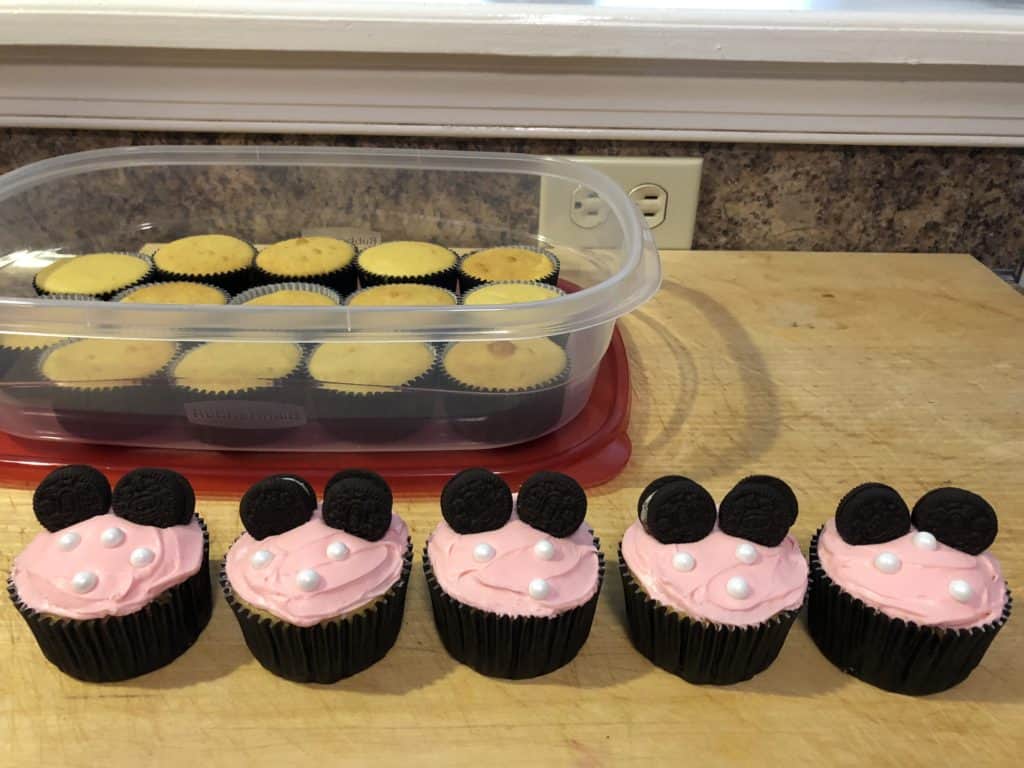
I was in love with the cuteness of these Minnie Mouse cupcakes! I used a boxed yellow cake mix, preparing the cupcakes according to the directions on the back of the box. The one thing I did differently was use applesauce in place of the vegetable oil. I ALWAYS replace the oil with applesauce.
The cupcakes were iced with Pillsbury Creamy Supreme Strawberry Frosting and decorated with Mini Oreo Cookies and Wilton White Sugar Pearl Sprinkles.
I baked the cupcakes two days before the birthday party. I iced and decorated the cupcakes the day before the birthday party. The cupcakes were arranged in a “2” on the dessert table.
Decide on the Favors for the Birthday Party
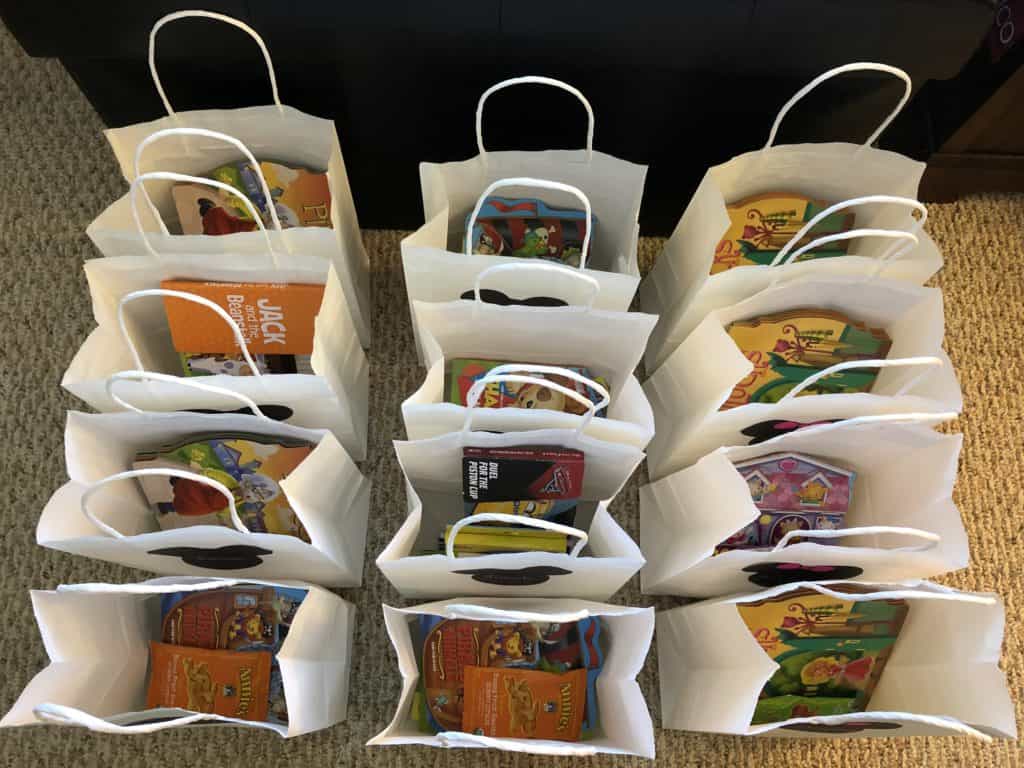
I put together party favors for the 12 children attending my daughter’s birthday party. I made a trip to the Dollar Tree (my FAVORITE store) to find the goodies for these favor bags. The Dollar Tree actually sells many products with Mickey and Minnie Mouse on them! The favor bags are essentially filled with activities and snacks. I wanted to do something that would get used and enjoyed rather than thrown away.
Here is what is included in each favor bag:
- A Board Book
- A Small Spiral Bound Notebook
- Mickey Mouse & Minnie Mouse Stickers
- Crayons
- A Set of Flashcards (Colors, Numbers, Shapes, First Words)
- Fruit Snacks
- A Snack Bag filled with Mickey Mouse Goldfish Crackers
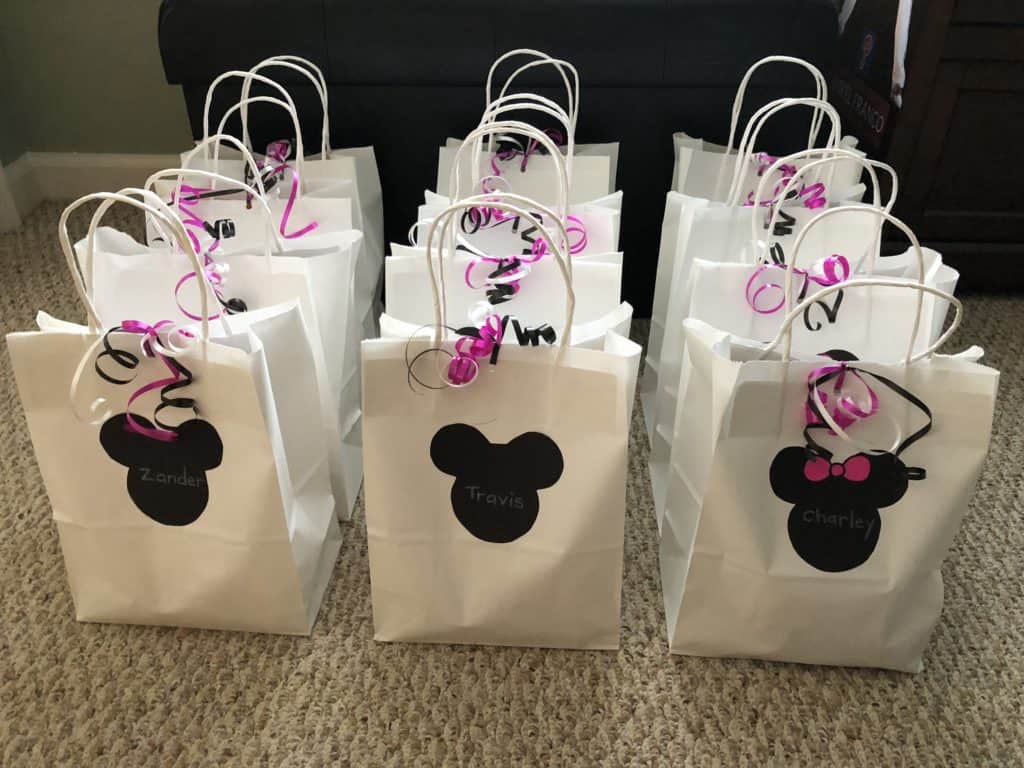
White gift bags adorned with Mickey & Minnie Mouse heads and pink, white & black curling ribbon make these favor bags perfect for my daughter’s Minnie Mouse themed second birthday party!
The Mickey & Minnie Mouse heads were traced onto black construction paper using a cookie cutter. I added a bow to the favor bags for the girls. The name of each child was written on the bag using a white crayon.
These favor bags actually served a purpose as a party decoration, too. We tied balloons (one pink, one white and one black) onto each bag and used them as table centerpieces. Some were also used to decorate the dessert, display and gift tables. At the end of the party, the kids got to take their favor bag and balloons home with them 🙂 I certainly didn’t need to go home with that many balloons!
Decide On & Create the Birthday Party Outfit
There were so many cute Minnie Mouse birthday outfits when I did an Internet search. While these outfits were super adorable, I didn’t want to spend that much on something my daughter would probably only get to wear one time. Also, I LOVE creating things and with some puffy paint and a black fabric marker, I easily transformed a plain white long-sleeved shirt ($3.48 at Walmart) into an extra special top for my daughter’s Minnie Mouse themed second birthday party.
The skirt was a lucky find at a consignment sale 🙂 It only cost me a few dollars so that was a win! Black leggings, black ruffled socks and the cutest shoes from Walmart finished off the birthday outfit. The entire outfit cost me less than $30 and she can wear the leggings, skirt, socks and shoes again 🙂
Thank You Notes
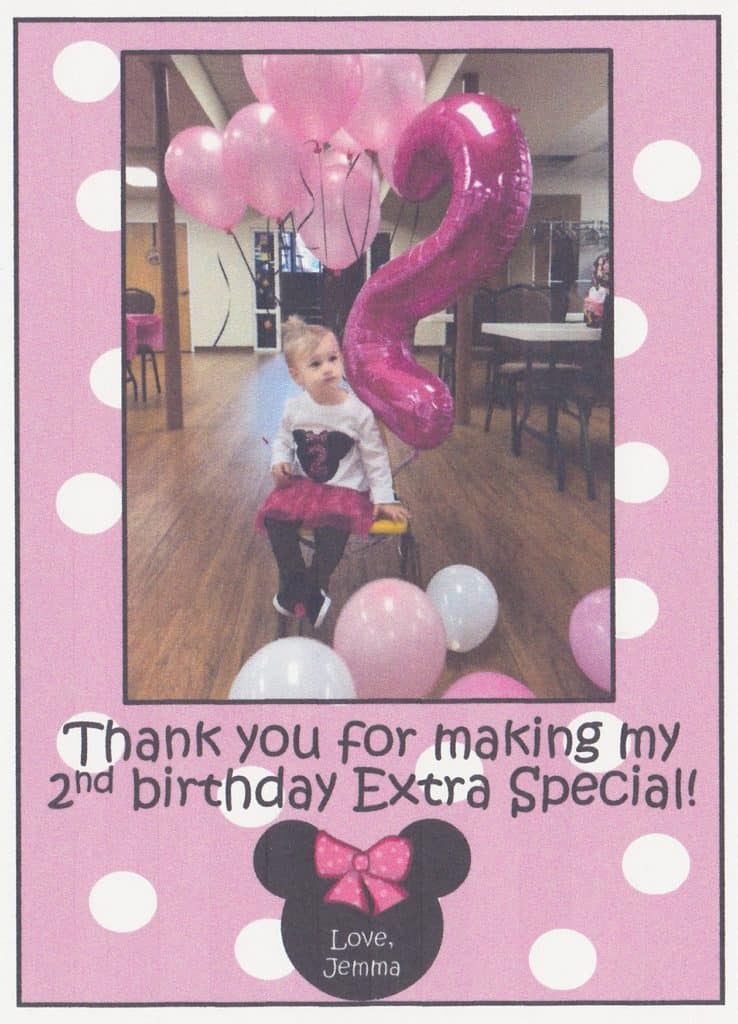
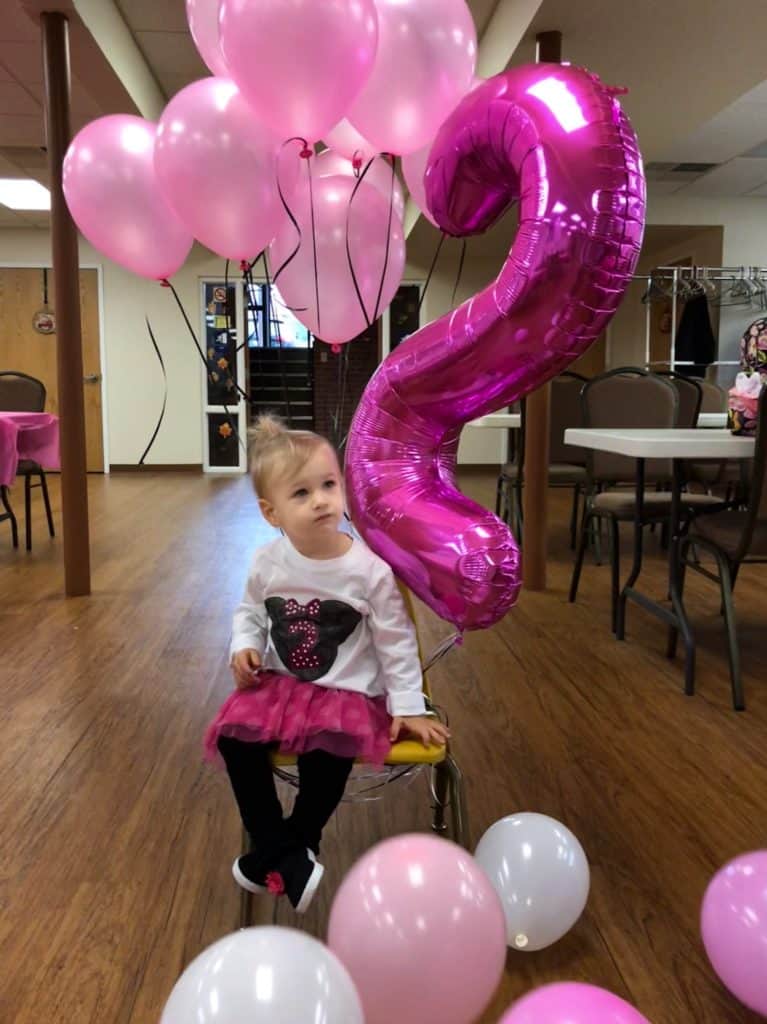
I decided to create a personalized Thank You Card in Microsoft PowerPoint using the same fonts, design and formats as the party invitations. I used my favorite picture of my daughter from her birthday party and typed out a special message. Then, after printing on white card stock, I wrote a thank you message on the back of each card.
My goal is to send out Thank You Cards within two weeks of the birthday party.
I’ve been writing and sending Thank You Cards/Thank You Notes for as long as I can remember. My mom ALWAYS had us write them to our friends and family after a birthday or special event. I admit, I really enjoy writing them! My husband thinks I write too much, but I put a lot of thought into what I say on each Thank You Card.
Since I’ve been writing and sending Thank You Cards/Thank You Notes since I was a child, I tend to follow the same format for every thank you message, which is usually three paragraphs in length:
- Paragraph #1 – This opening paragraph thanks the person or persons for the gift they sent/gave. I usually add in a few details about what we love about the gift or, if it was a monetary gift (gift card, check, cash), what we are planning to purchase. I want the person or persons receiving the Thank You Card to feel special 🙂
- Paragraph #2 – This middle paragraph talks about the birthday party/special event. In this case, I wrote about how much fun my daughter had at her second birthday party. I included details of the things she enjoyed the most about her birthday party and celebrating her second birthday.
- Paragraph #3 – The concluding paragraph thanks the person or persons again. I also include a closing statement like “Talk to you soon”, “See you soon”, or “Hope all is well with your family”.
I always send additional pictures of my daughter (from the birthday party and recent pictures) to family who live too far away to attend the birthday party. They love receiving the pictures and I love printing them out and sending them 🙂
To Sum Up
I really enjoyed planning and implementing all of the details for my daughter’s Minnie Mouse themed second birthday party. As you can see, I kept everything simple and made the party all about my daughter.
My daughter had a blast at her second birthday party! She enjoyed coloring and playing with stickers at the activity table, running around with her friends, playing with the balloons and eating her cake! Seeing the pure joy on her face made me happy 🙂
If you are looking for a birthday gift for a toddler, be sure to check out my list of the best toys for toddlers 🙂
That’s a very nice blog post
Thank you so much for stopping by to check it out!
The Minnie Mouse-themed desserts are adorable! The attention to detail and cute designs capture the spirit of Minnie Mouse perfectly. Wonderful job!
Thank you so much for your comment! I had a lot of fun making them and decorating them for my daughter’s birthday 🙂
Hello!!! Guuurrrrllll!! U blew this out of the water!! This was fantastic!!! Great job mommy!! …. Well of course daddy too cuz I’m sure he carried most of it in n then helped set up!!! Ur “baby” big girl had a special party!!
Thank you so much for stopping by and reading the post! It was a fun birthday party to plan 🙂